There have been several viral anime clips going around the internet lately, and many of them are AI generated. What makes them interesting is how close they already look to anime videos made through a more traditional production process.
The camera movements are smoother, the characters are more expressive, and the motion no longer looks as stiff as what we usually see from older AI video models.
I know many people, especially anime fans and otakus, are curious how these AI anime videos are made and what tools are required to create them.
So in this post, I will put three AI video platforms to the test to see which one can generate the best anime-themed videos from a common image input.
- PixAI’s video model v4.0: Their latest video generation model with improved quality, fidelity, and physical accuracy.
- Veo 3.1: Google’s latest and most capable video model to date.
- Seedance 2.0: Bytedance’s controversial but highly popular video model.
For the test, I will be using two input images and asking the models to turn them into videos.
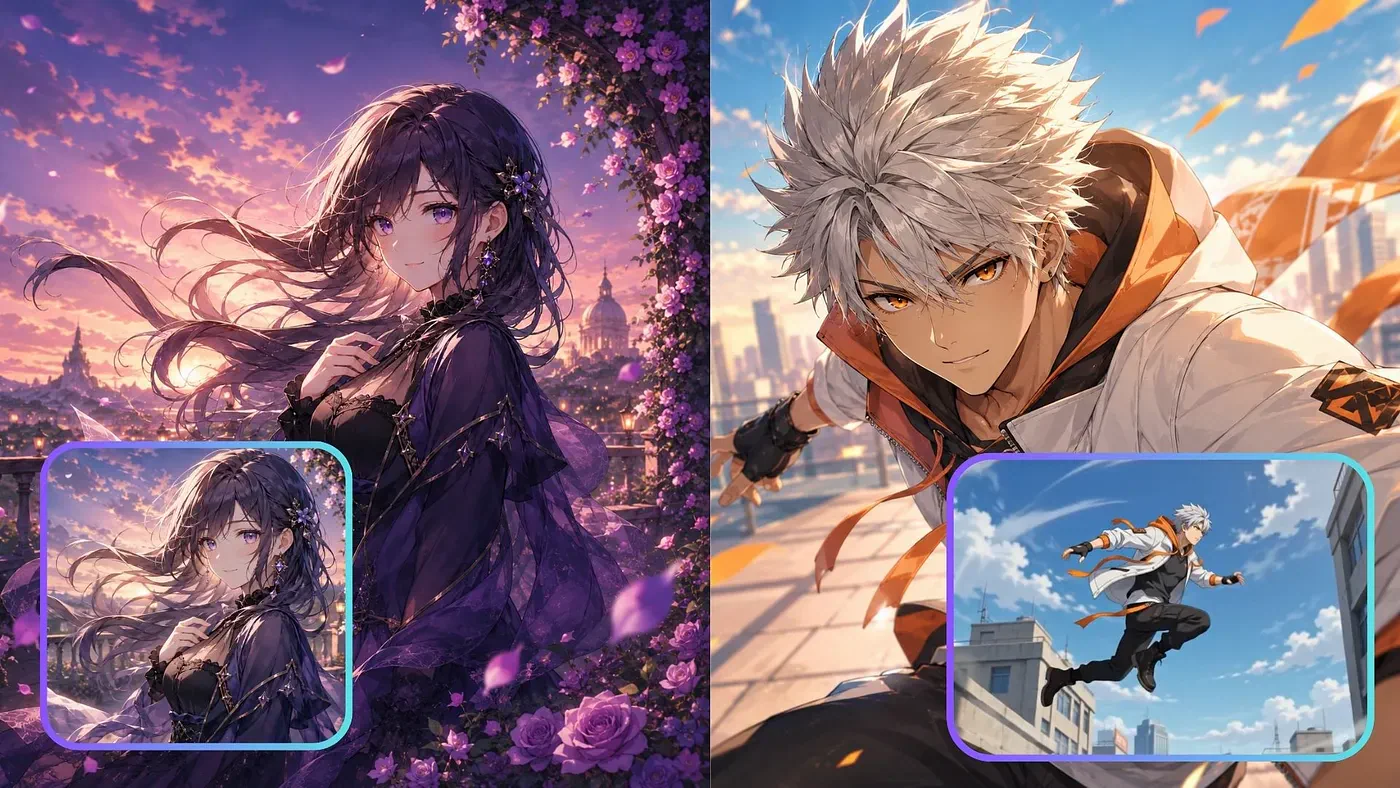
Input images for image-to-video demos. Images generated with AI
The first image is a slower and more cinematic anime portrait, while the second image is a fast-moving male anime character that should test action, motion, camera movement, and identity consistency.
The prompt will also be similar for all the video models. Let’s get started.
Image-to-video with PixAI
To get started with PixAI, head over to their website and create an account for free. Make sure to claim all the free credits that come with your initial sign-up.
Open PixAI’s anime video generation dashboard. Upload the reference image and then paste the prompt.
Prompt: Animate a slow cinematic push-in toward her face with subtle parallax in the flowers, terrace, and sunset background. Let her hair, translucent fabric, and flower petals move gently in the wind. Add a soft blink and a slight calm expression change while keeping her face, outfit, pose, and anime style consistent.
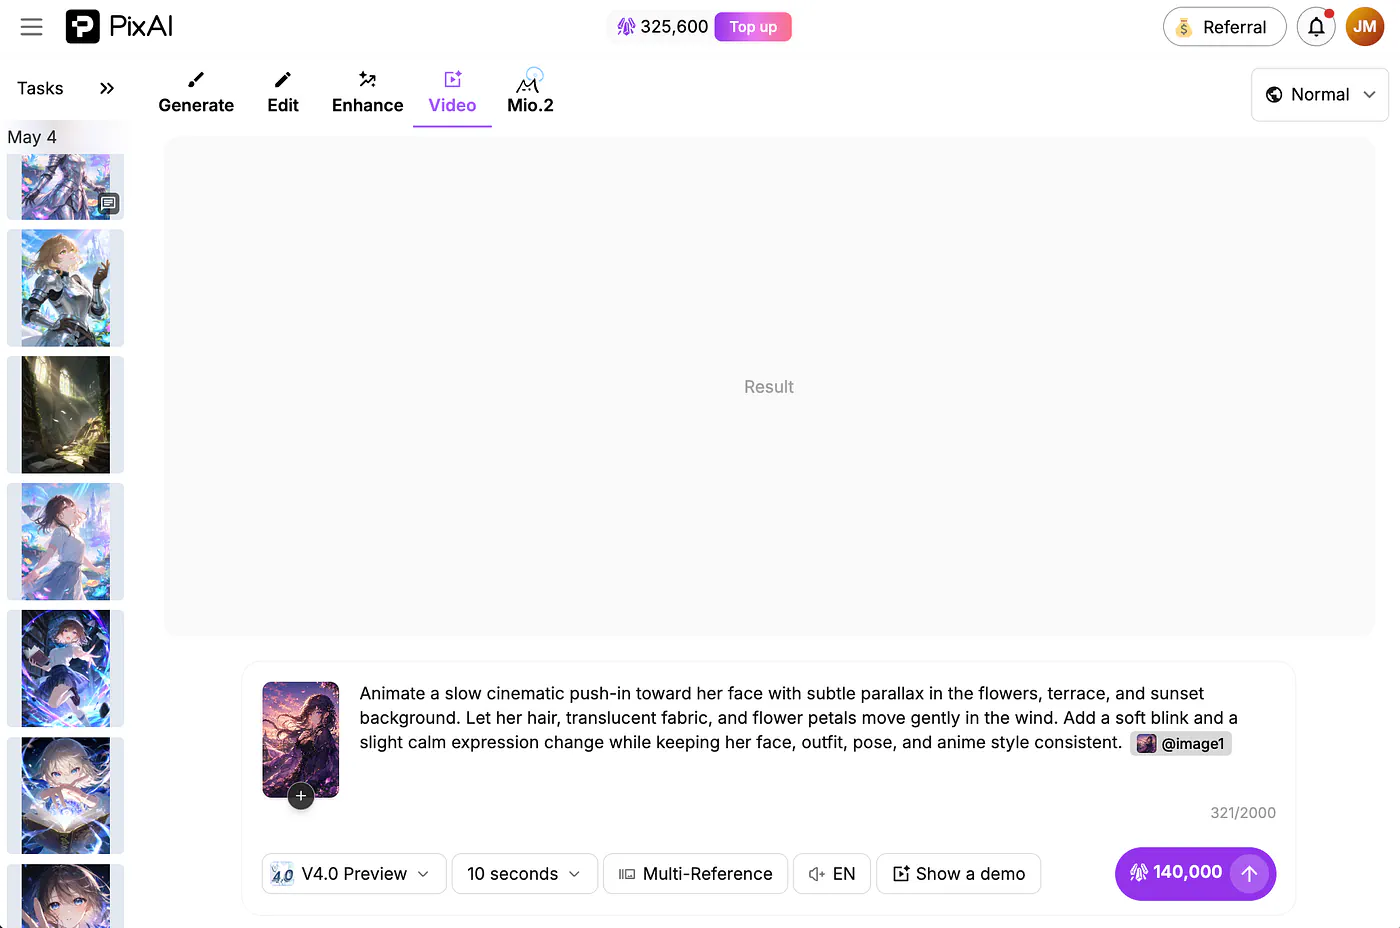
PixAI video generation dashboard. Image by Jim Clyde Monge
In the video settings, set the model to V4.0 Preview, then choose the video length, language, and reference mode. Once the video generation is done, you can either publish it on the PixAI community or download it to your local disk.
This is what the output looks like:
Loading this video connects to Vimeo, which receives device and connection data and may use cookies or similar storage.
The result is incredible. What I really like about this output is how much life PixAI adds to the image without breaking the character. Her hair moves naturally, the flower petals react to the wind, and the translucent fabric of her outfit has this soft motion that makes the scene feel alive.
It does not look like the usual boring AI video where only the camera slowly moves forward and everything else barely changes. Here, there is actual motion happening across the frame. The hair, petals, background, and clothing all move in a way that feels connected to the scene. The slow push-in also helps a lot because it gives the video a more cinematic feeling.
The blink is subtle, but it makes the character feel more expressive. There is also a calm expression change that does not feel exaggerated. It keeps the anime style intact while adding just enough movement to make the image feel like a real animated shot. I love it.
Okay, now let’s do the second image with the fast-moving male subject. This is the prompt I used:
Prompt: A fast-paced anime action scene with quick multi-angle cuts as the male character dashes across a rooftop, leaps forward, slides, and changes direction with high energy. Use dynamic shots like low-angle tracking, side follow shots, close-ups of his face, wide rooftop shots, and over-the-shoulder motion views. Let his silver hair, orange scarf, and jacket move strongly in the wind while the city background blurs with speed. Keep his face, white-and-orange outfit, and overall identity consistent. Add impact motion, light debris, and strong camera movement, but avoid extra characters, warped anatomy, or major design changes.
Loading this video connects to Vimeo, which receives device and connection data and may use cookies or similar storage.
Awesome. I was really surprised by how dynamic the movements are in this one. The quick camera angle changes make the whole video feel more like an actual action sequence instead of a simple image animation.
The debris and smoke effects also look great. They add impact to the movement and make the rooftop scene feel more intense. The character’s silver hair, scarf, and jacket react strongly to the motion, which helps sell the speed of the scene. It feels like the model understands that this is supposed to be a high-energy anime action shot.
Turn on your volume and you will appreciate the sound effects too. The sounds are synced with the movements, and that makes the output feel closer to a cinematic fight scene from a real anime. This is one of the best parts of PixAI’s output for me. It does not only animate the image. It tries to create a full scene.
PixAI Pricing
PixAI’s paid plans start at $9.99 per month for the Starter plan. This already includes access to the Video Generation Suite, covering both image-to-video and text-to-video generation.
It also comes with Turbo Mode, which PixAI says is 7.6x faster, plus early access to new models and 300,000 monthly credits.
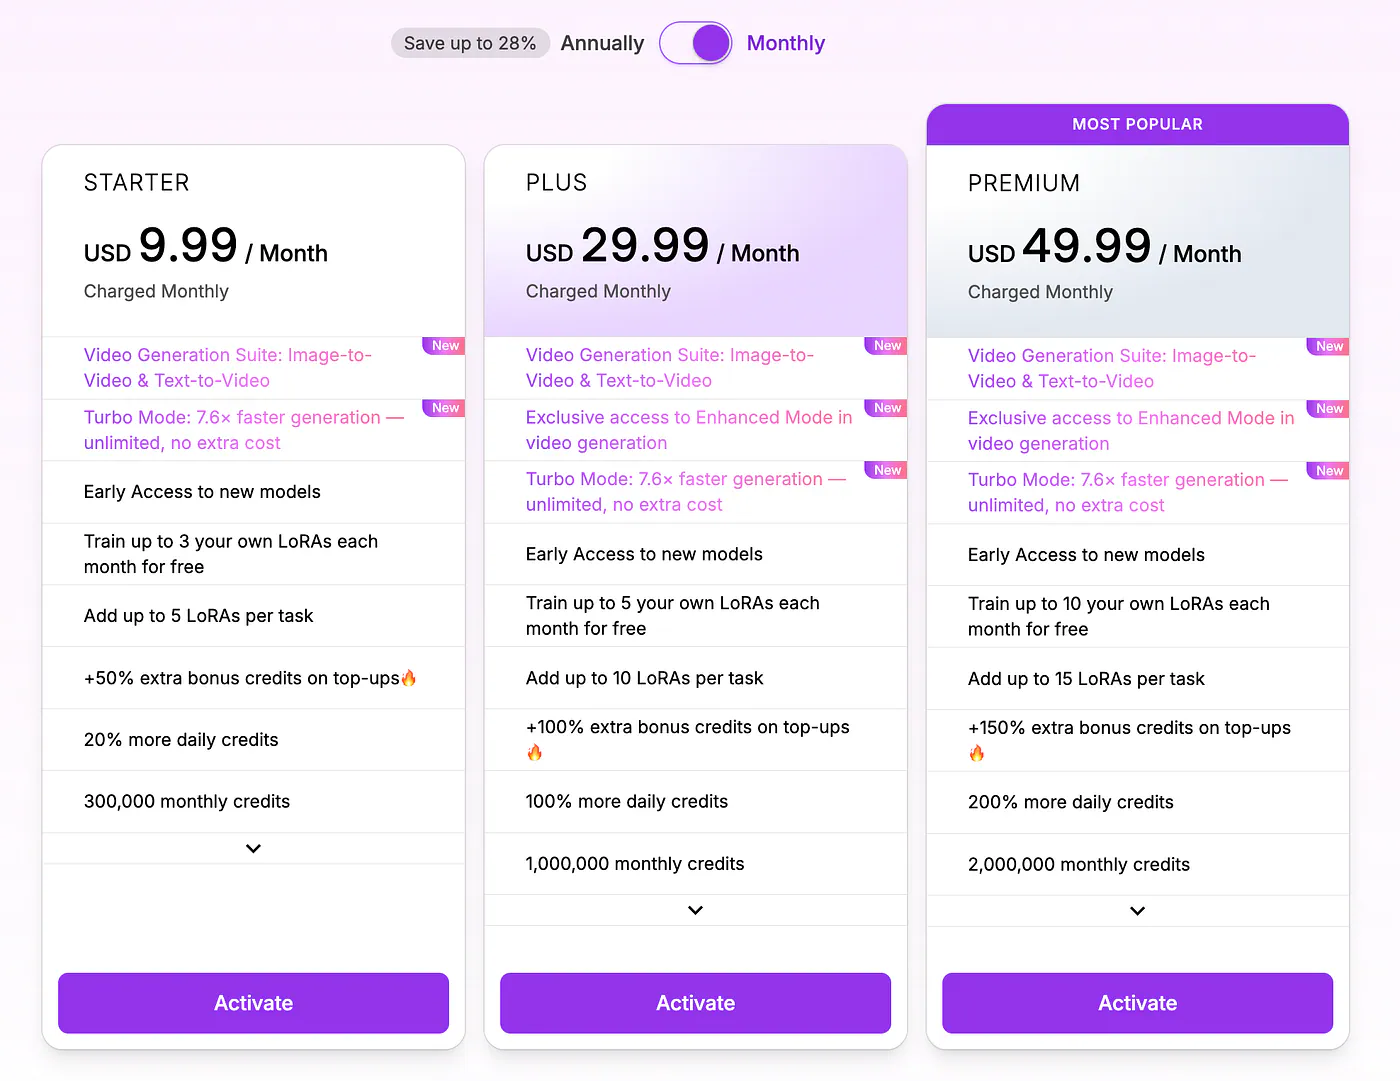
PixAI Pricing page. Image by Jim Clyde Monge
For heavier users, the Plus plan costs $29.99 per month and increases the monthly credits to 1,000,000. This plan also unlocks Enhanced Mode for video generation, which is useful if you want better output quality and more refined motion. You also get more LoRA training slots, higher daily credits, and a bigger bonus when buying extra credits.
The Premium plan costs $49.99 per month and gives you 2,000,000 monthly credits. This is the better option if you plan to generate a lot of anime videos, test multiple prompts, or create content regularly. It includes all the main video features, Enhanced Mode, Turbo Mode, early model access, and the highest top-up bonus among the three plans.
For this test, the most important thing is that all paid plans include PixAI’s image-to-video and text-to-video tools. That makes the Starter plan enough for casual testing, while Plus and Premium make more sense if you want higher volume, Enhanced Mode, and more room to experiment.
Image-to-Video with Veo 3.1
Now, let’s try Google’s Veo 3.1 model. It works in multiple platforms, but the one that I will be using in this example is the Gemini app. Just start a chat instance and upload the reference image along with the prompt.
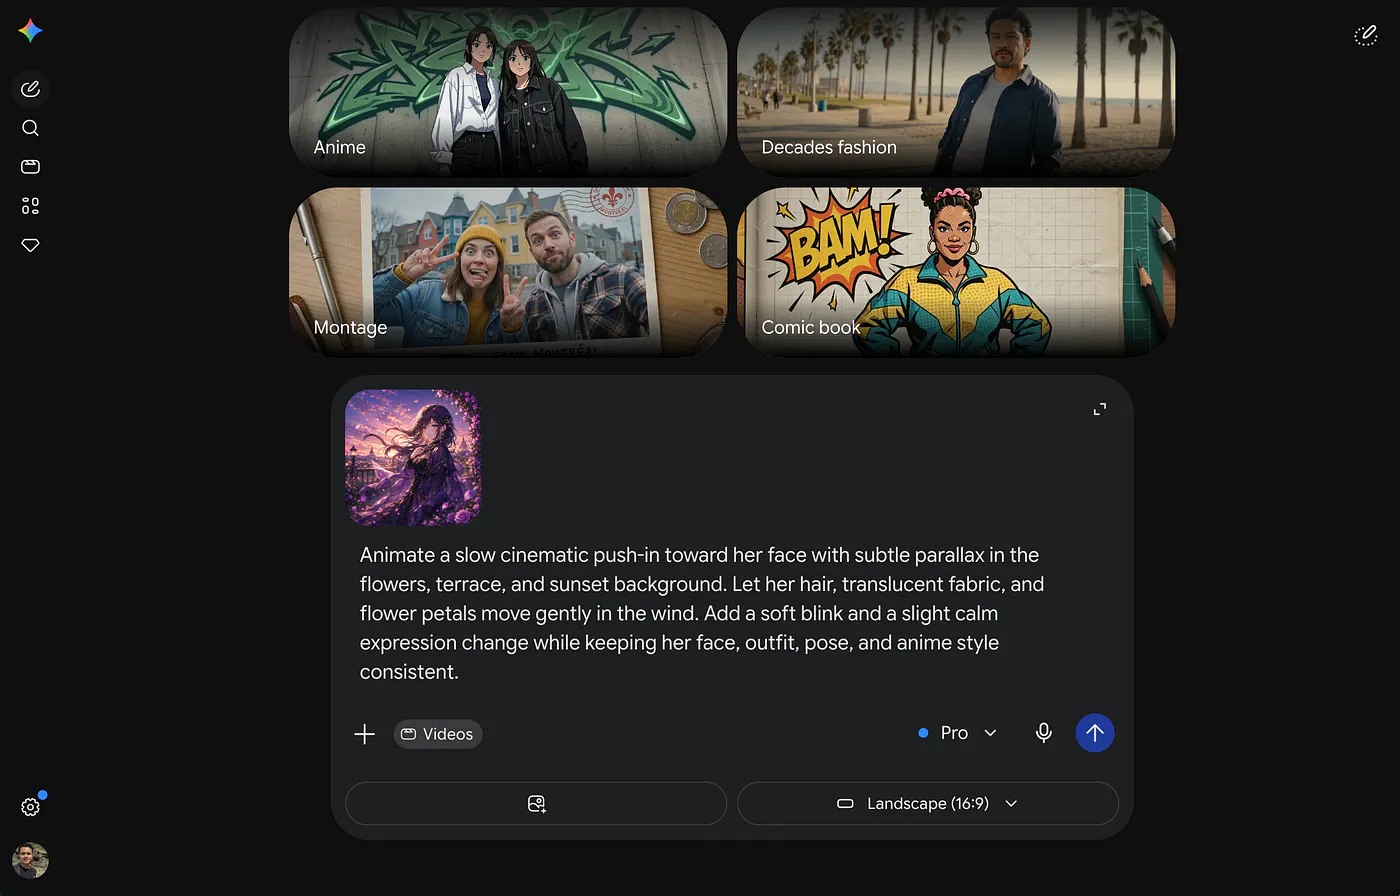
Gemini image to video generation. Image by Jim Clyde Monge
The settings and controls are extremely limited here. You can only adjust the aspect ratio and the reference image. Unlike PixAI, you cannot adjust the length or the language through a dedicated settings menu. If you want those details to be included, you need to specify them in the prompt.
Once the AI is done generating the video, it will be displayed in the chatbox.
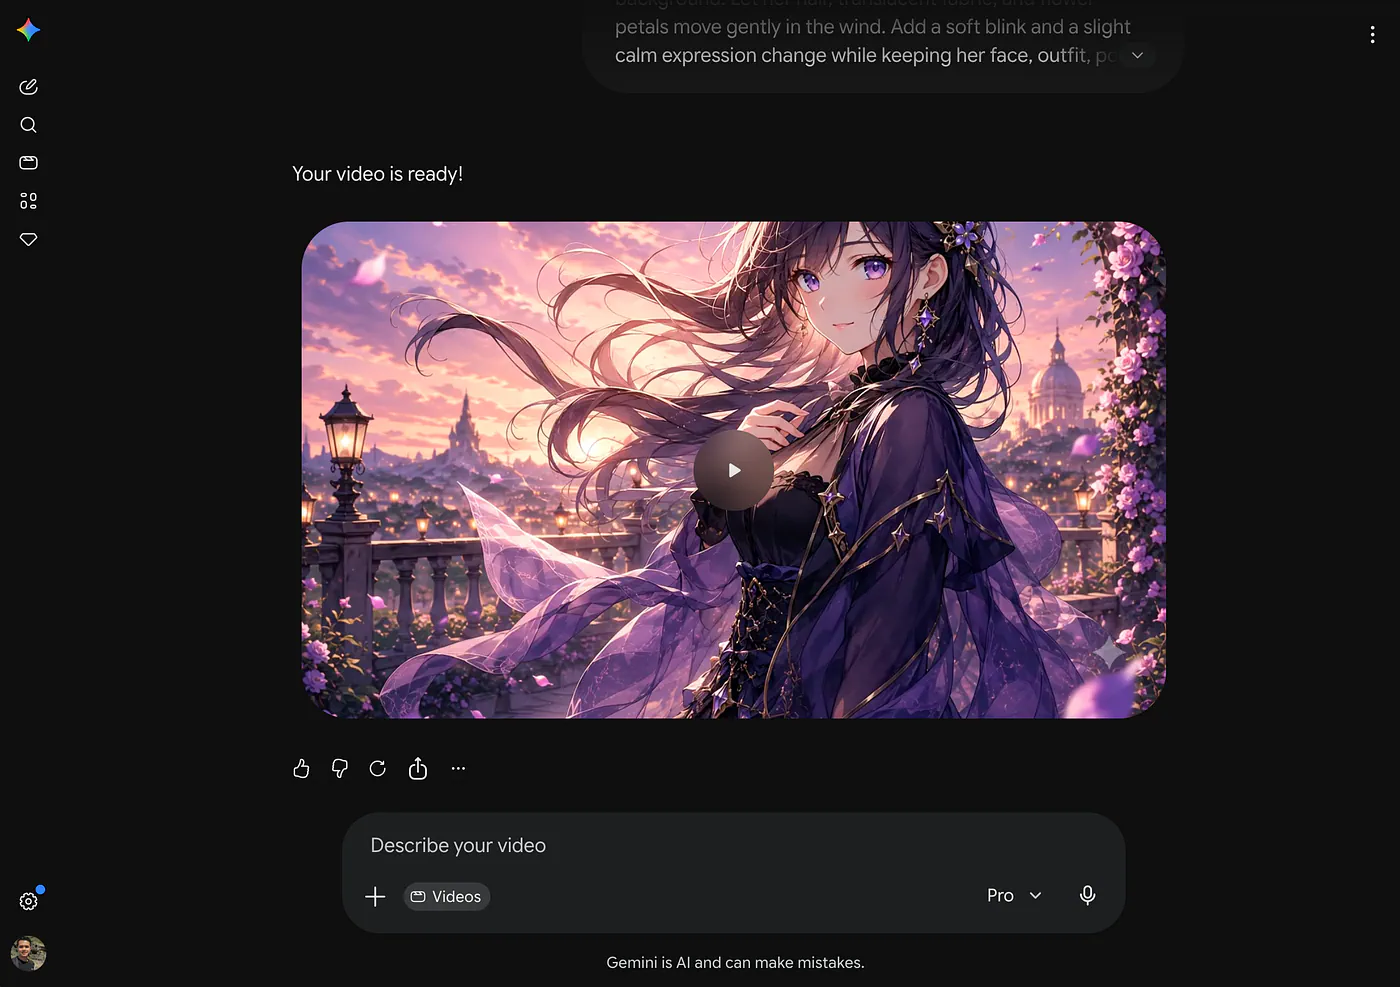
Gemini image to video generation. Image by Jim Clyde Monge
This is what the final video looks like:
Loading this video connects to Vimeo, which receives device and connection data and may use cookies or similar storage.
Similar to PixAI, Veo 3.1 also does a really good job with dynamic movements. The slow zoom looks great, and the motion in the hair and background gives the image more depth.
However, one thing that makes this video look a bit weird is the sudden change in the background near the end of the clip. It might just be a model glitch, but it is still something I noticed right away.
Still, the result is not bad at all. Veo 3.1 clearly has strong motion quality, and it can create a very smooth cinematic animation from a still anime image.
For the second image example, this is what the generated video looks like:
Loading this video connects to Vimeo, which receives device and connection data and may use cookies or similar storage.
The video looks good, but the body movement does not fully match the speed that I was expecting from the prompt. It has motion, but it does not have the same punch and aggressive movement that PixAI created in the action test.
The camera movement is still nice, and I like the sound effects. The audio helps make the scene feel more alive, especially when the model adds movement and impact sounds. But compared to PixAI’s version, this one feels less controlled. The character moves, but the scene does not feel as energetic or cinematic.
Another thing that can be a deal breaker is the Gemini watermark in the lower-right corner. If you are just testing the model, this is not a big issue. But if you plan to use the video for content, ads, or published clips, the watermark can be annoying. It is always there, and you need to keep that in mind before choosing Gemini as your main workflow.
One thing worth mentioning about Veo 3.1 is pricing.
- If you access it through Gemini, there is a free tier available, although usage limits are restricted and access to advanced video generation features can vary.
- Google AI Plus starts at $4.99 per month and includes higher usage limits along with access to video generation features.
- Google AI Pro costs $19.99 per month and significantly increases usage allowances, while Google AI Ultra starts at $99.99 per month and is aimed at power users who need the highest generation limits and access to Google’s latest AI capabilities.
Depending on how often you create videos, Veo can be either a very affordable option or a more premium solution.
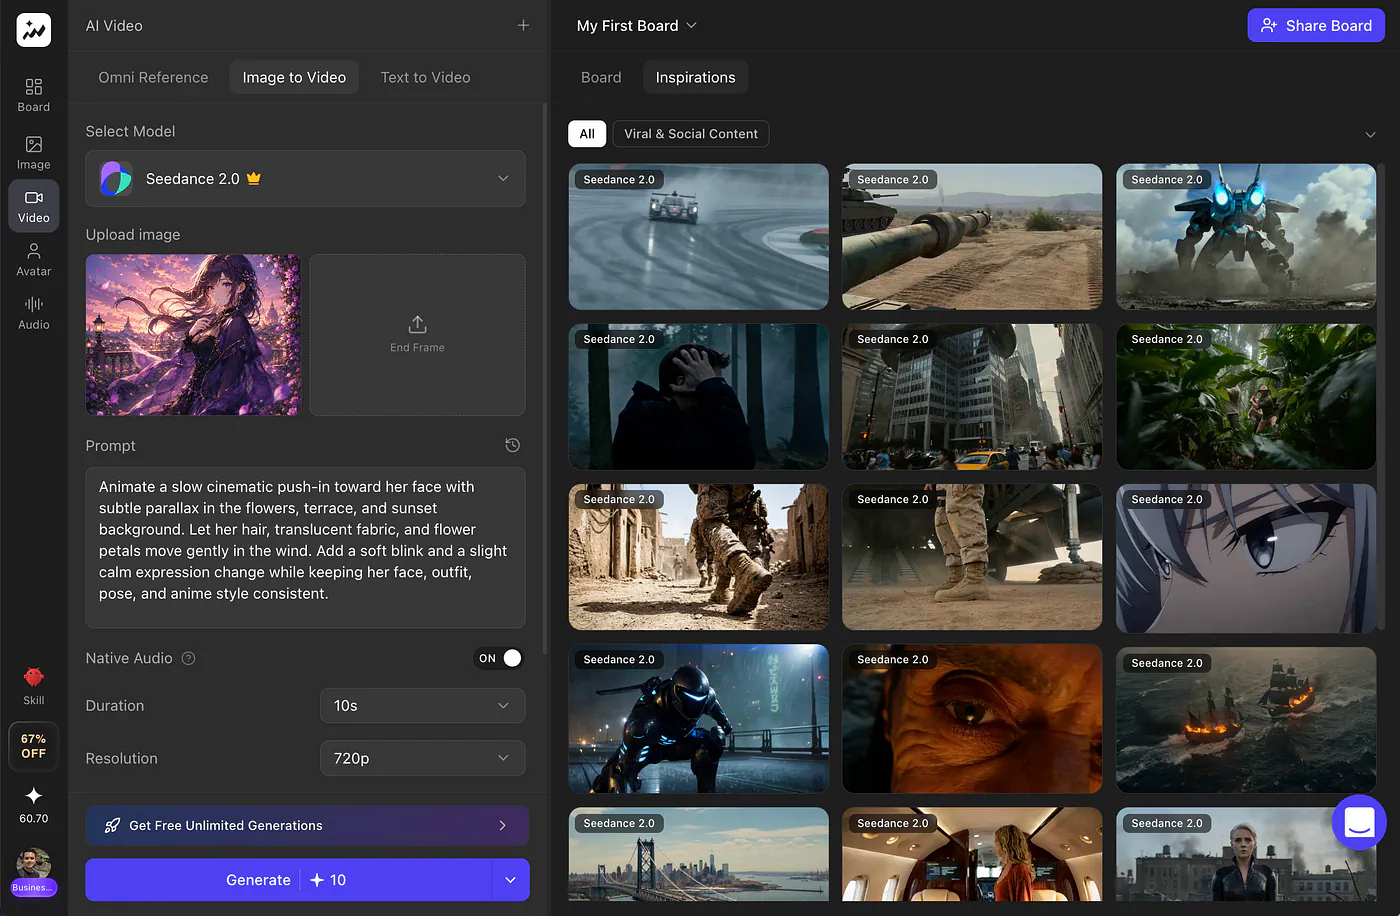
Image-to-Video with Seedance 2.0
There are many ways to access Seedance 2.0 right now, and one of my highly recommended platforms is Topview. To use it, go to the Video tab and select the Seedance 2.0 model from the dropdown list.