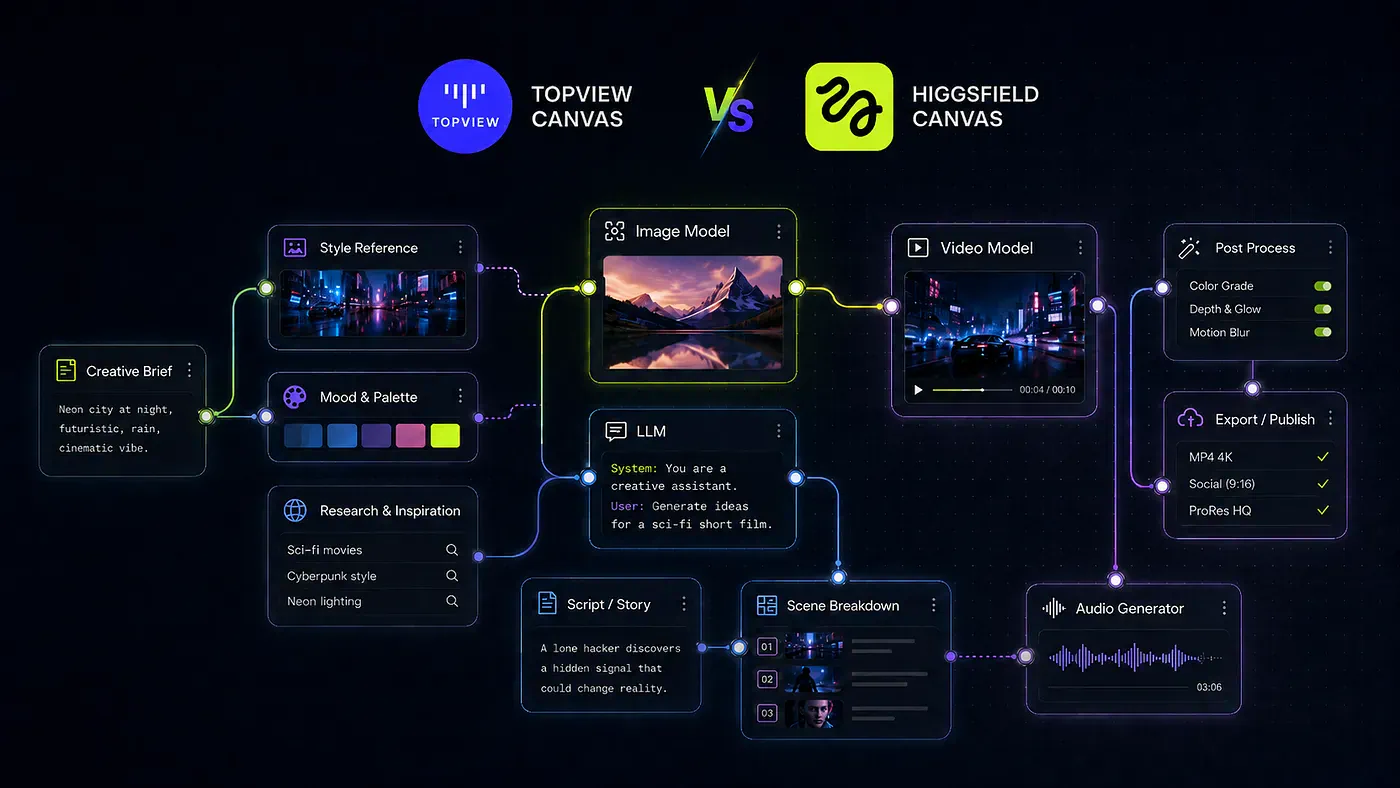
Infinite canvas for AI media generation isn’t new. I’ve been using it since I picked up ComfyUI back in 2024, and ever since, a boundless board has been one of my favorite ways to work. There’s something freeing about having unlimited space to link prompts, style references, LLMs, image generators, and video models, all connected on a single board instead of scattered across a dozen browser tabs.
Lately, two platforms have brought that same idea to a much friendlier interface: Topview and Higgsfield. Both give you the same kind of boundless workspace, but each one takes a different approach to how you actually use it.
In this guide, we’ll compare the canvas feature in Topview and Higgsfield.
I’ll walk through how to use each tool, generate the same image and video on both, and point out where they pull ahead or fall behind.
Let’s start with what a canvas feature actually is.
What is Canvas Feature?
A canvas is an infinite, zoomable board where you generate and connect different types of AI media in one place. Think of it as a digital workspace with no edges.
You can pass an asset from one model to another, create images, video, and audio right on the board, and transform any of them into something else. You can also mix and merge several pieces of media together, building one idea on top of another.
What makes a canvas so useful is that everything stays in one view. In a normal setup, you generate an image in one tool, download it, and then upload it into another tool to turn it into a video.
It’s faster, it keeps your ideas organized, and it lets you experiment without worrying about losing your place. Both Topview and Higgsfield’s canvas tools are built around this idea, but they each handle it in their own way.
Alright, now let’s get into how each tool works with a few examples.
Topview Canvas
To get started, head over to Topview and create a free account. Once you’re in, open the Topview Canvas tool from the left menu. The feature is free to try, so you can follow along without paying for anything yet.
This is what the canvas view looks like:
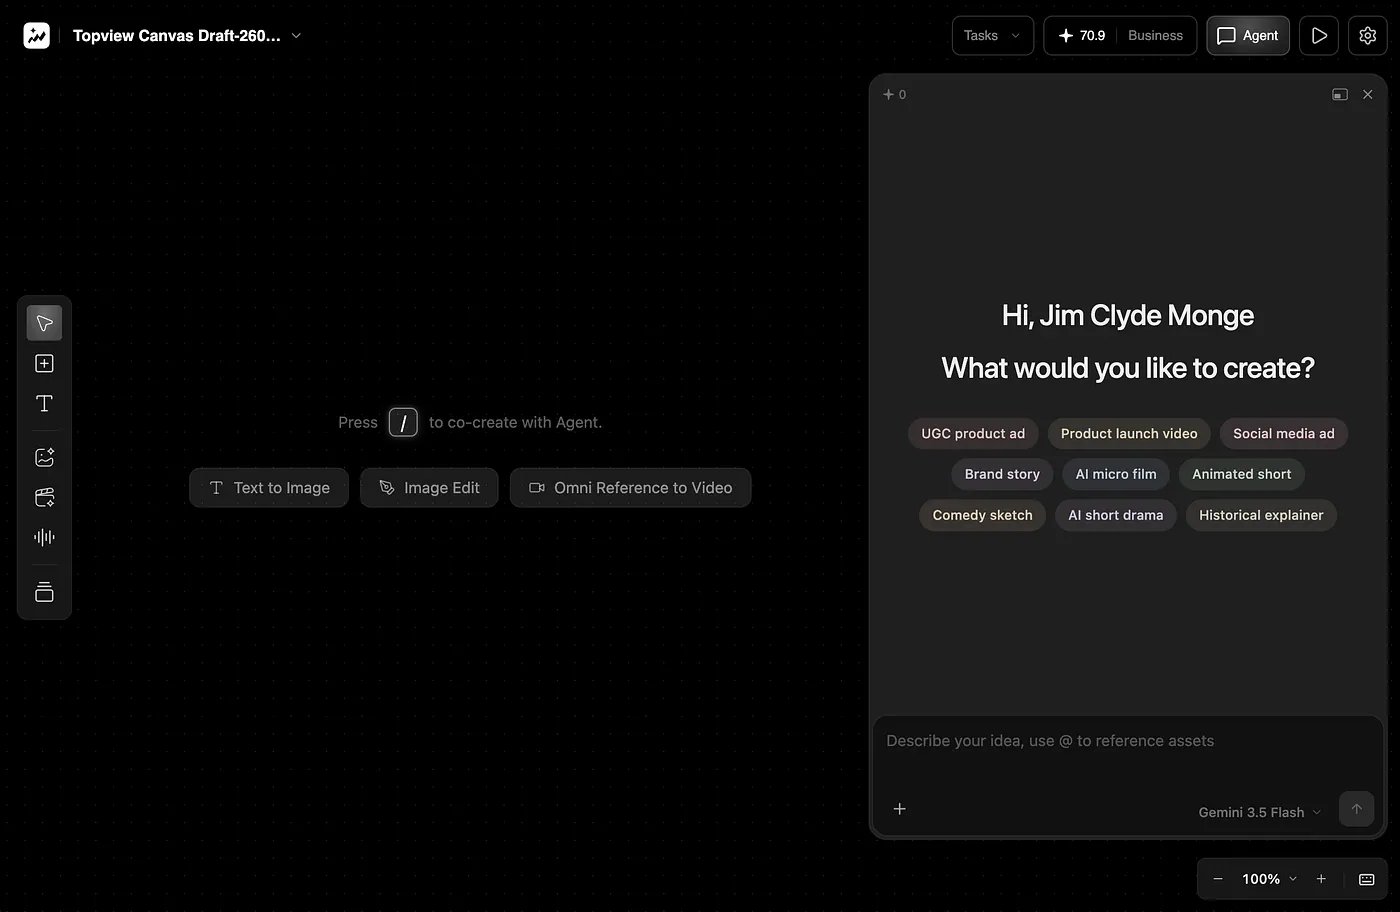
Topview canvas tool. Image by Jim Clyde Monge
You’ll notice it’s a clean, open board with your generation options tucked along the side. Let’s try to generate an image first. Here’s the prompt I used:
Prompt: A colorful fashion portrait of a girl wearing floral clothes and an elegant flower headdress, standing in a lush garden filled with blooming flowers, soft natural light, vibrant colors, dreamy photography style, shallow depth of field, high detail.
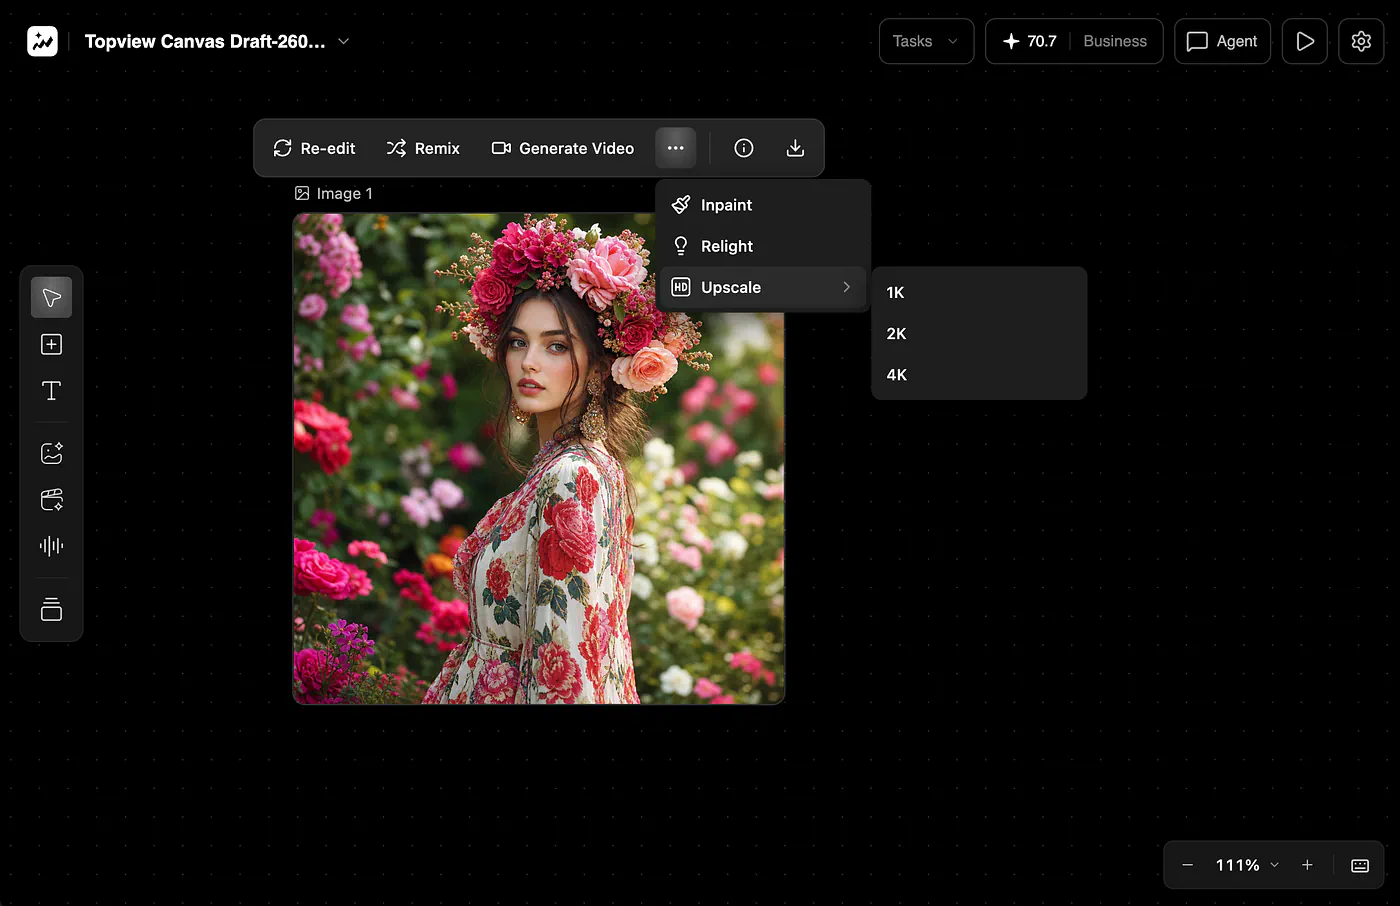
Topview canvas image generation example. Image by Jim Clyde Monge
One thing I really like about Topview is that you can view the metadata of the output image. This is super helpful because there are plenty of times when you’ll want to upscale a result, pull the exact prompt back out, or check which model generated it.
Look at how gorgeous the portrait is. The model used here is GPT Image 2. Topview keeps all of that information attached to the image.
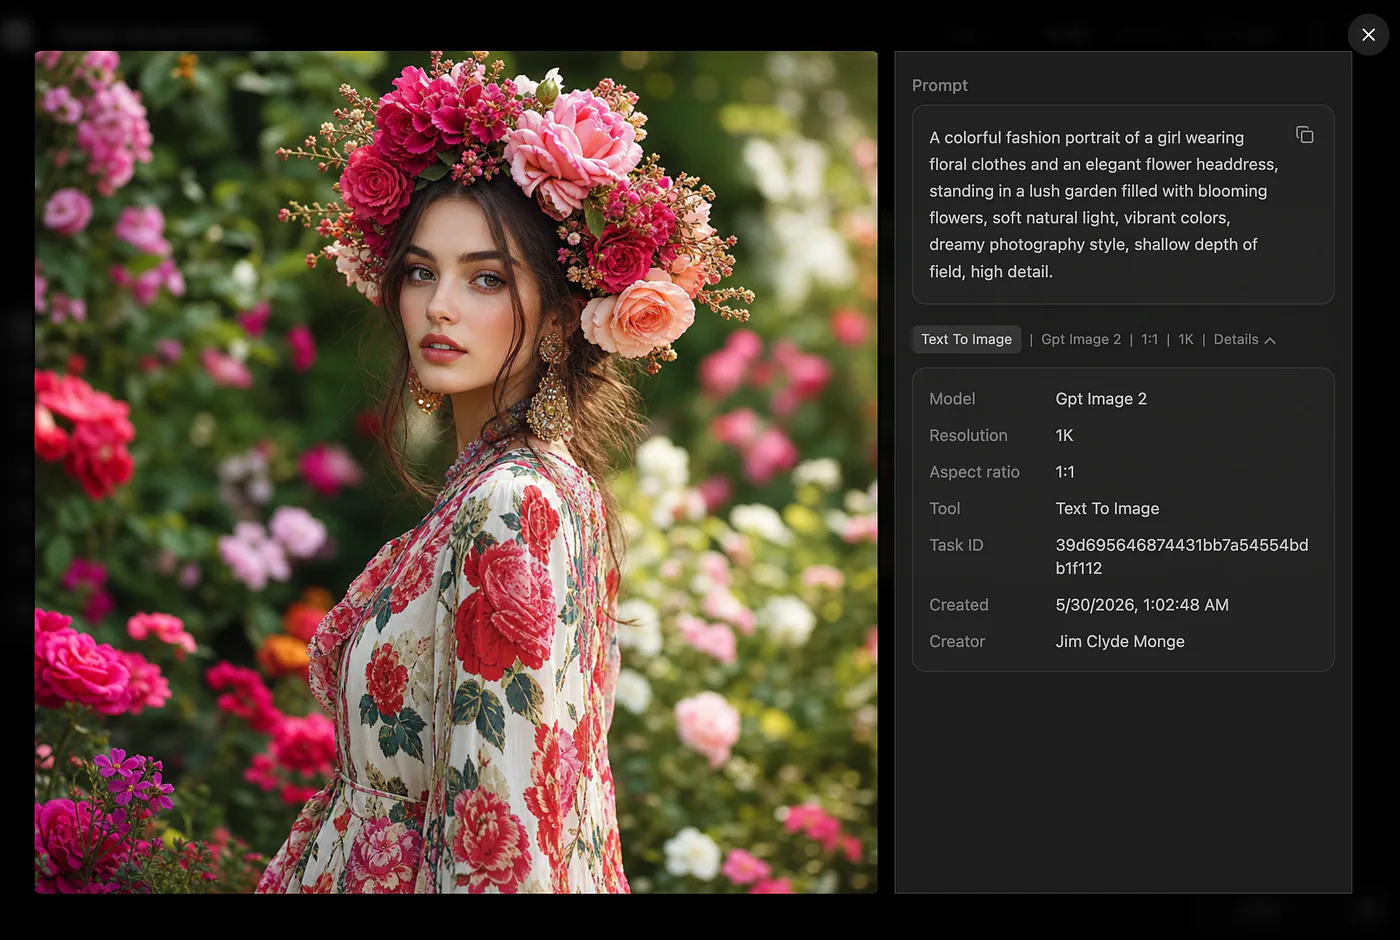
Topview canvas image metadata example. Image by Jim Clyde Monge
The platform gives you several ways to keep working with it. From here, you can do the following:
- Re-edit: edit the image with a new prompt.
- Remix: use the image as a reference for a fresh generation.
- Turn the image into a video: animate the still right on the board.
- Inpaint, Relight, and Upscale: fix specific areas, change the lighting, or boost the resolution.
For now, let’s try to turn this image into a video. Remember that the video generator tool is powered by two models: Seedance 2.0 and Seedance 2.0 Fast.
Here’s the prompt I used:
Prompt: Turn this image into a dreamy fashion video of a girl in floral clothes and a flower headdress standing in a colorful garden. Add gentle camera movement, soft wind moving her outfit and flowers, subtle hair motion, warm natural sunlight, blooming flowers in the background, shallow depth of field, elegant cinematic photography style, vibrant colors, smooth slow motion.
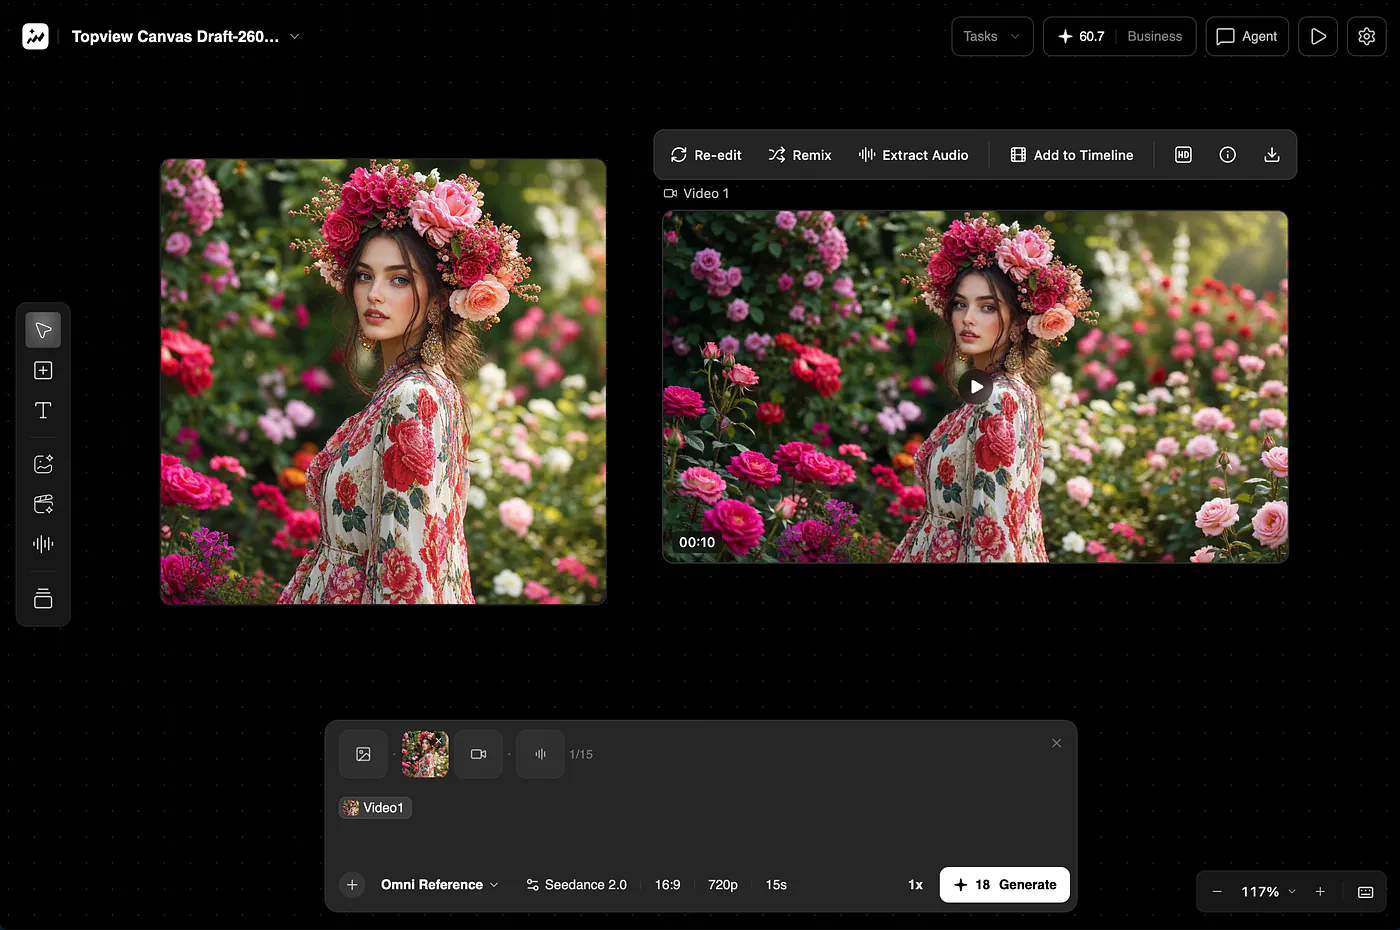
Topview canvas video generation example. Image by Jim Clyde Monge
The video shows up right beside the image, and from there, you can remix it, edit it, extract the audio, or even upscale it.
Here’s the final video:
Loading this video connects to Vimeo, which receives device and connection data and may use cookies or similar storage.
Topview canvas video generation example. Image by Jim Clyde Monge
I like how slowly she moves, and the slow-motion effect makes the whole clip feel classy. The background music is a nice touch, too, and it ties the mood together without me having to add a separate audio track.
Just like that, I generated a video from a single line of text right inside the canvas, without copying and pasting the image between different tools. That’s exactly the kind of workflow a canvas is built for.
Higgsfield Canvas
Now let’s see how Higgsfield handles the same job. To get started, create an account and open the Canvas dashboard from the top navigation bar.
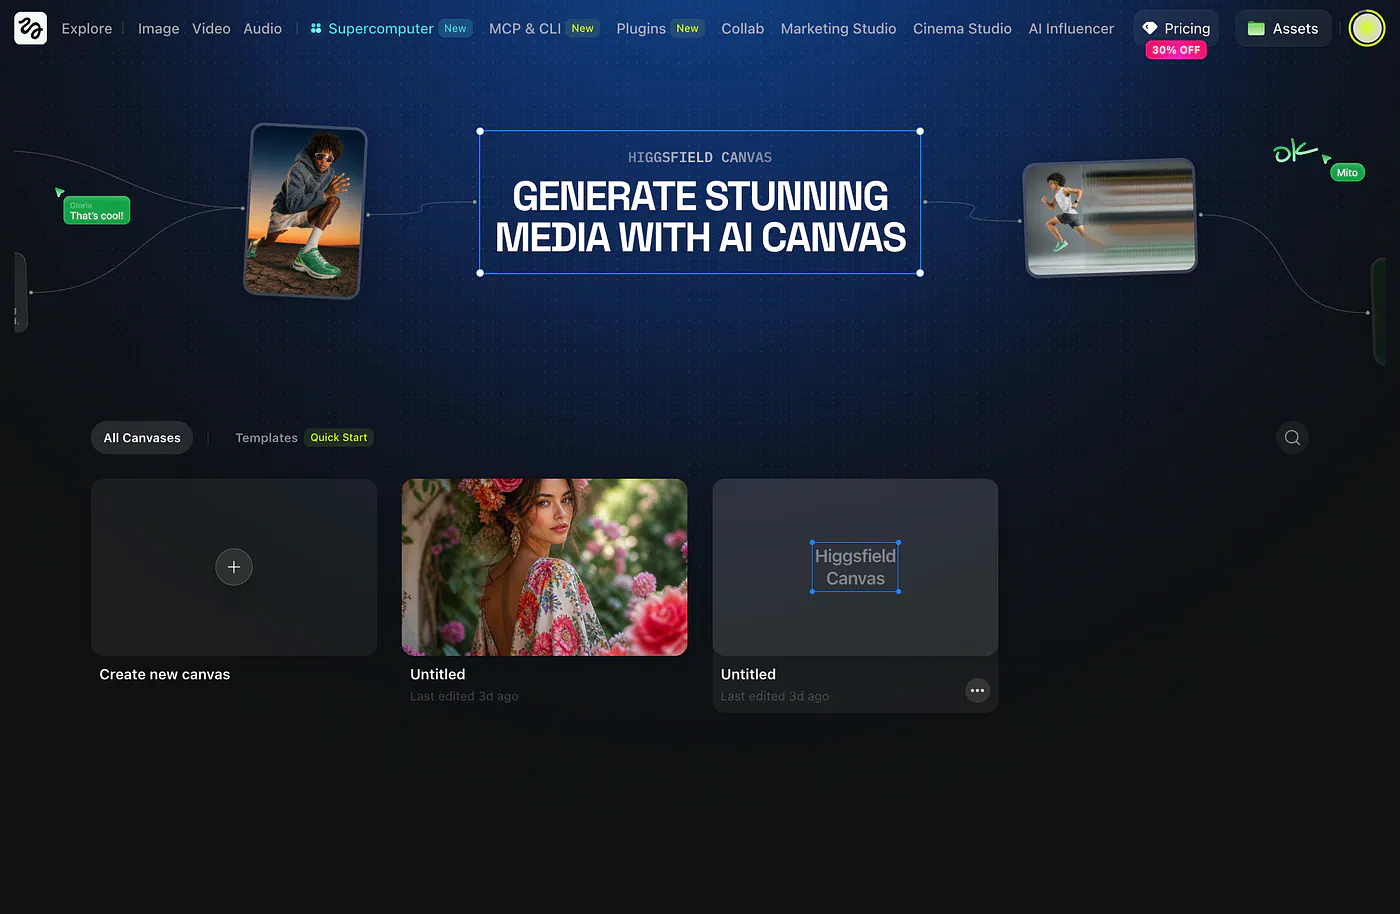
Higgsfield canvas tool. Image by Jim Clyde Monge
This is what the canvas view looks like:
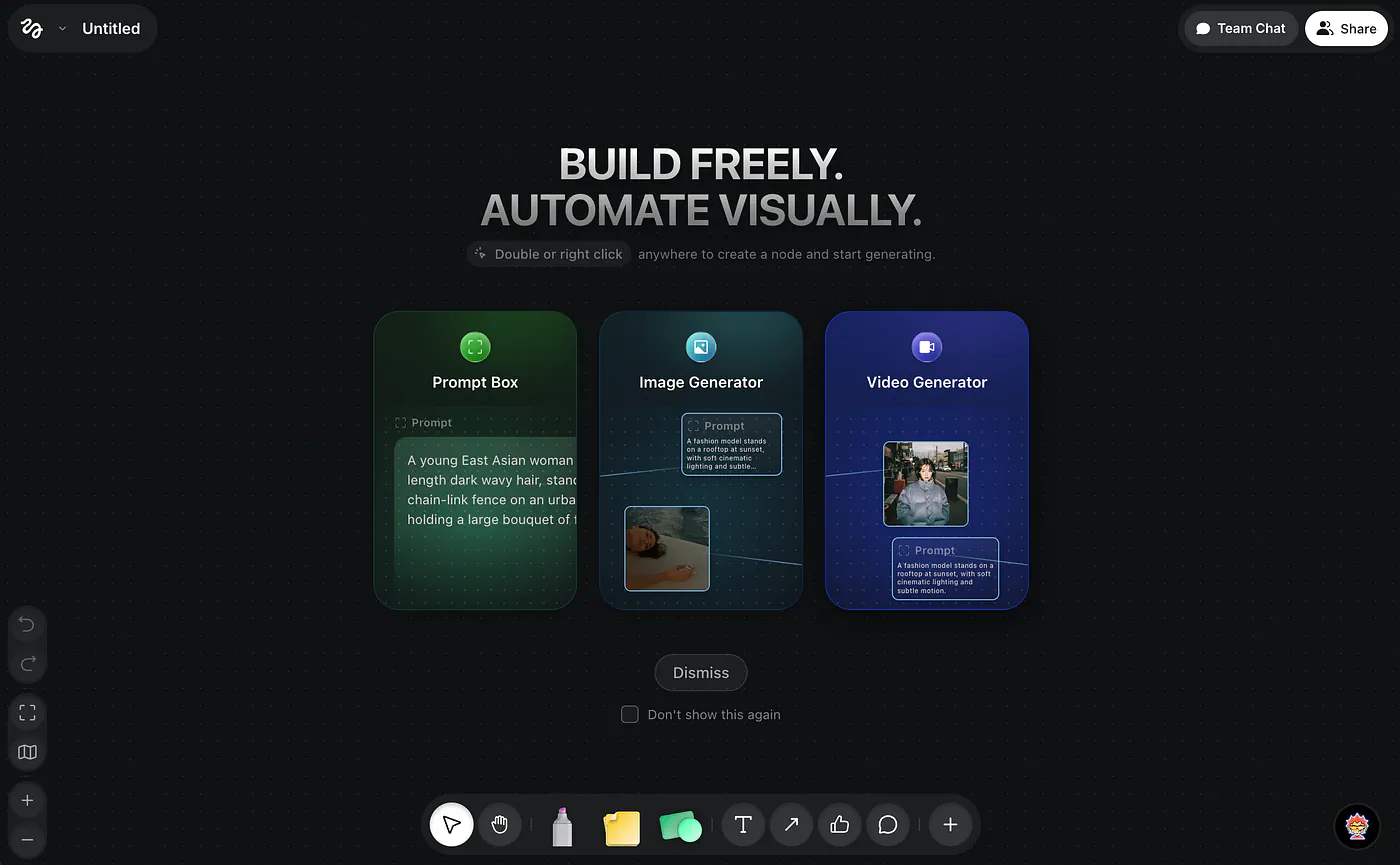
Higgsfield canvas tool. Image by Jim Clyde Monge
The layout feels a little different from Topview. From here, you can generate an image or video, or drop shapes and text onto the board to organize your ideas. Feel free to explore the tools in the interface before you start, since the options are laid out a bit differently than you might expect.
Let’s try the image generator tool.
Prompt: A colorful fashion portrait of a girl wearing floral clothes and an elegant flower headdress, standing in a lush garden filled with blooming flowers, soft natural light, vibrant colors, dreamy photography style, shallow depth of field, high detail.
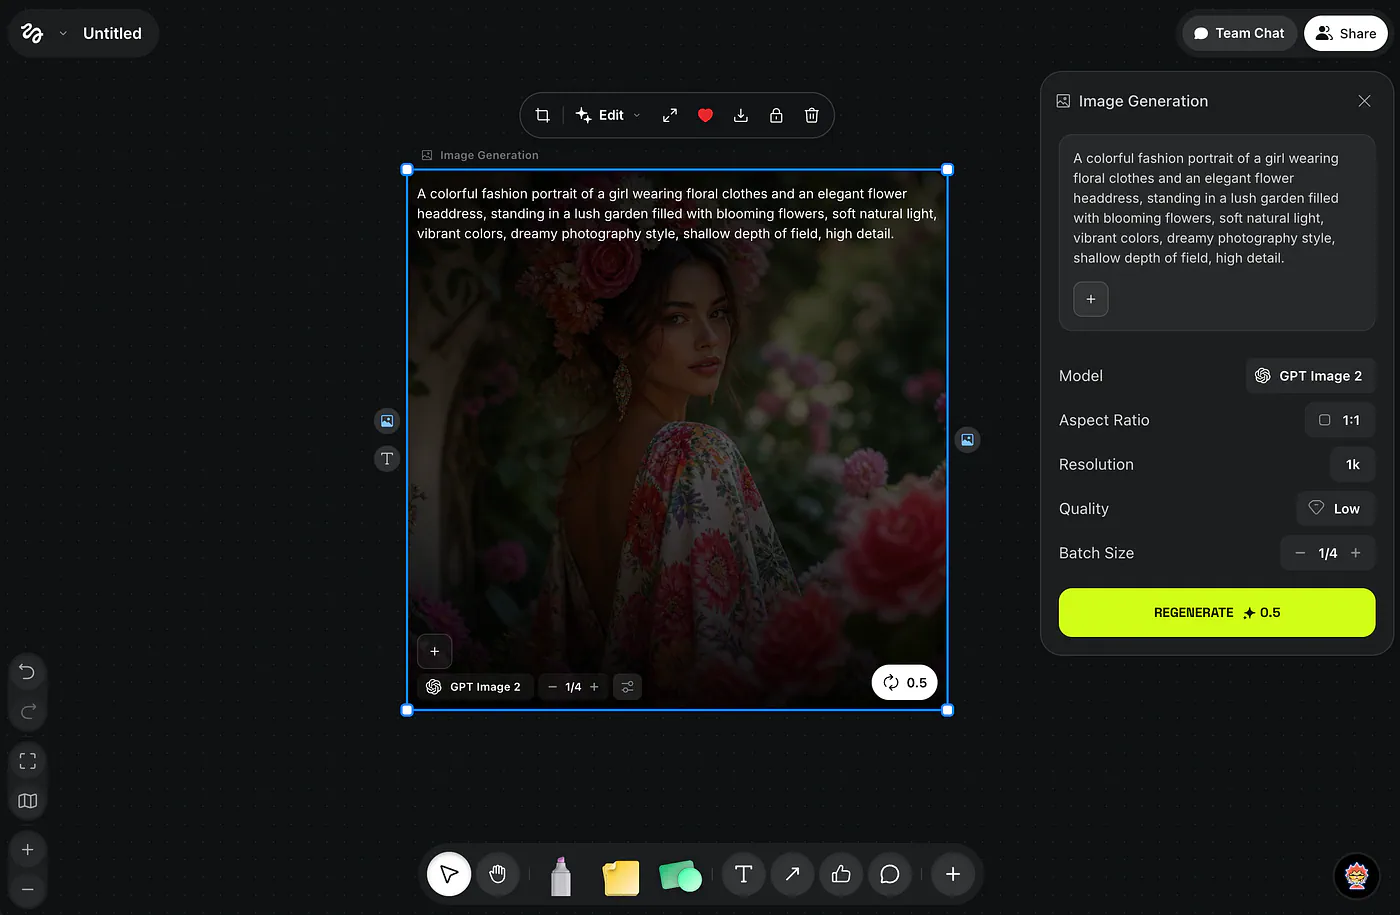
Higgsfield canvas image generation example. Image by Jim Clyde Monge
Since this is a node-based interface, editing the first image works a little differently. To make changes, you grab the node handle and drag it out to create a new node.
The previous image then becomes the input for that new node, where you can do things like turn it into a 3D Pixar-style image or animate it into a video. It feels less like editing and more like building a chain, with each step feeding into the next.
For this example, I asked it to restyle the portrait:
Prompt: Change the image style to 3D pixar
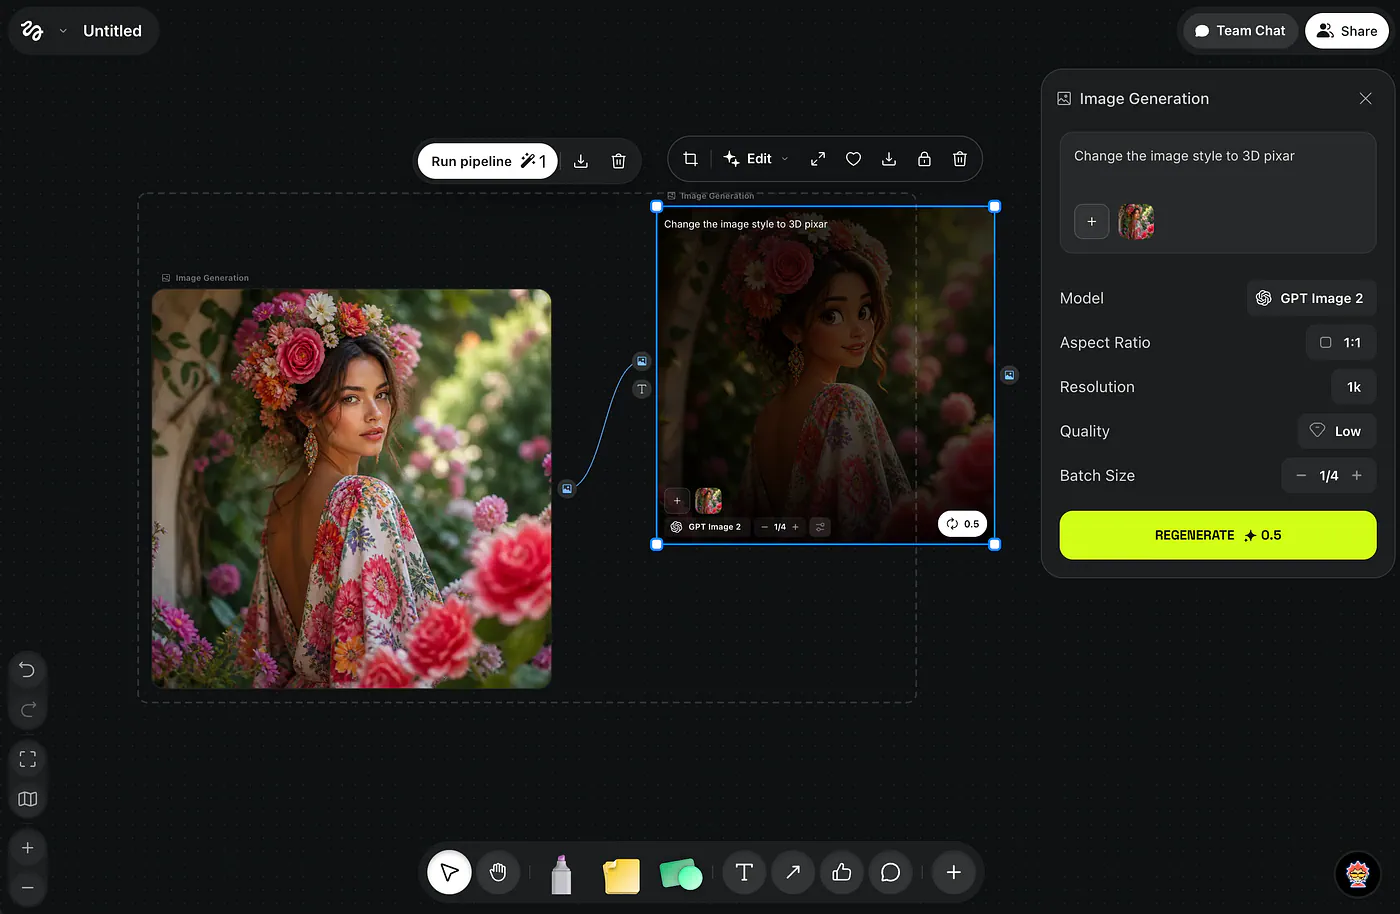
Higgsfield canvas image generation example. Image by Jim Clyde Monge
This is a much faster workflow than copying an image, pasting it into a chat box, and then asking the AI to edit your reference. The connection between the original and the edit lives right there on the board, so you can always trace your steps or branch off in a new direction.
Finally, you can turn the image into a video by creating a new video node and describing how it should look. The process is the same as before: drag out a node, write your prompt, and let the model do the rest.
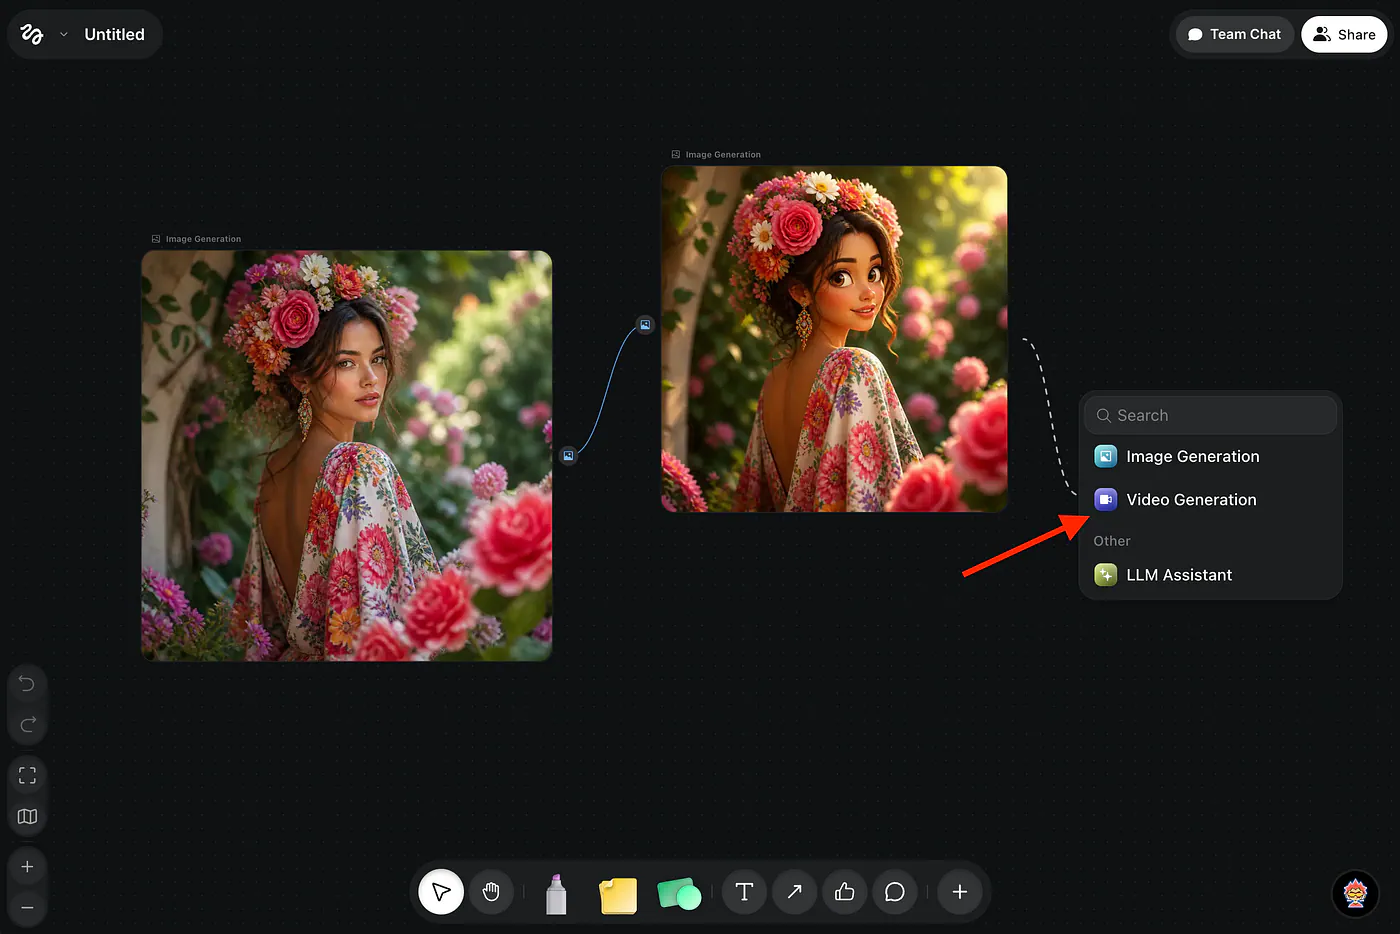
Higgsfield canvas video generation example. Image by Jim Clyde Monge
Alright, that’s basically everything you can do with the Higgsfield Canvas feature.
Now that we’ve seen both tools in action, let’s break down how they actually differ.
Feature Differences
On the surface, Topview and Higgsfield look like they do the same thing. But after spending some time in both, the differences become more obvious.
Here are the ones that stood out to me the most.
- Topview offers more media generation options. Higgsfield lets you generate images, videos, and text, which covers the basics. Topview goes further by also letting you generate audio, add your own visual style, set the environment, and more.