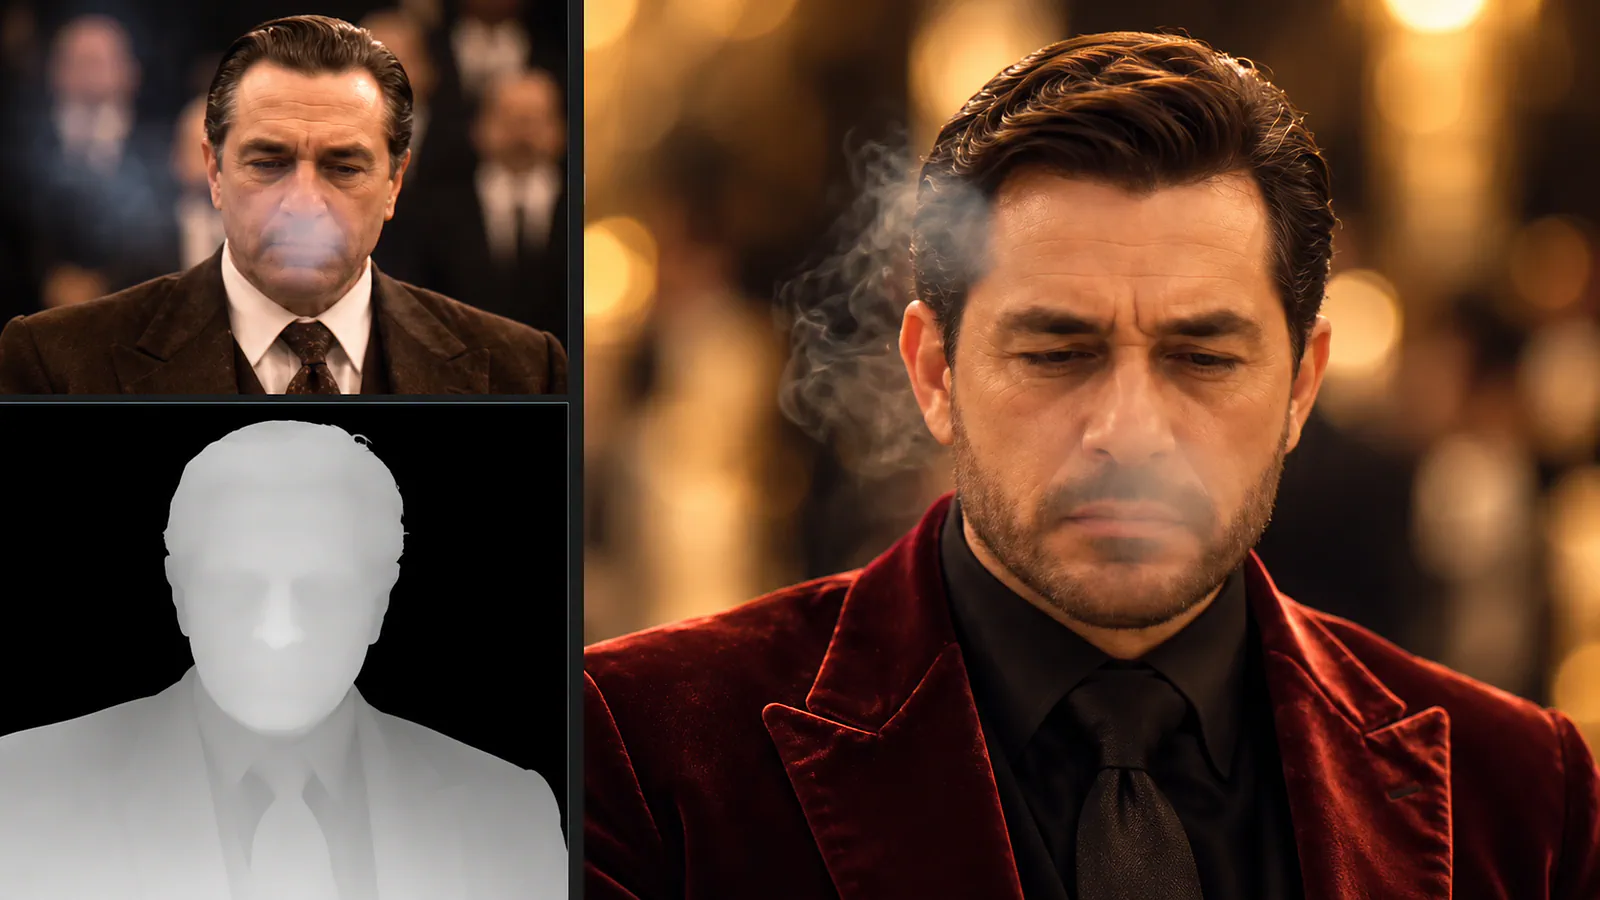
It’s been several weeks since GPT-6 Astra was released, and I’ve been enjoying the model so far. It’s been really great at following instructions, coding, and research. But did you know you can also connect it to other image, video, and 3D tools?
Topview AI now has a plugin that lets you access models such as Seedance 2.5 and Nano Banana through ChatGPT.
You can ask Astra to write a story, prepare the scenes, and use Topview to generate the images and videos. Topview also supports workflows involving 3D scenes, so you can go further with camera angles and composition.
In this guide, I’ll walk you through setting up the plugin and share three prompts for creating different kinds of videos. We’ll do a product ad and try a short cinematic scene.
Let’s get started.
What is the Topview plugin?
The Topview plugin connects your AI assistant to Topview’s media tools. Once you’ve installed it and connected your account, you can request images, videos, and other supported assets directly in your conversation.
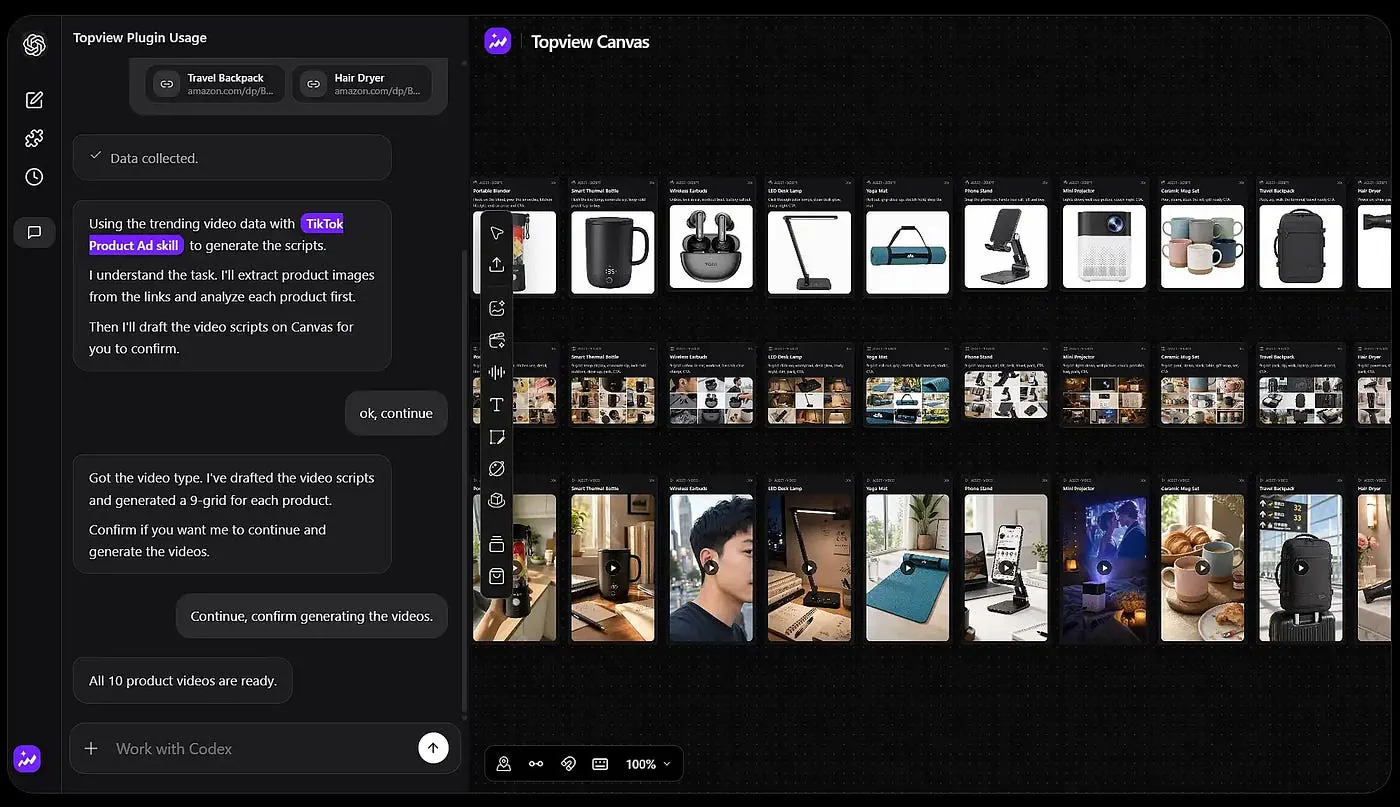
For example, you can upload a product photo and ask ChatGPT to create a video ad around it. Astra can help write the script and decide what should appear in each shot, then call Topview to generate the footage.
You can be specific about the result, too.
Ask for a vertical video for Instagram, a slow camera movement, a particular setting, or several shots featuring the same character. The available settings depend on the generation model you choose.
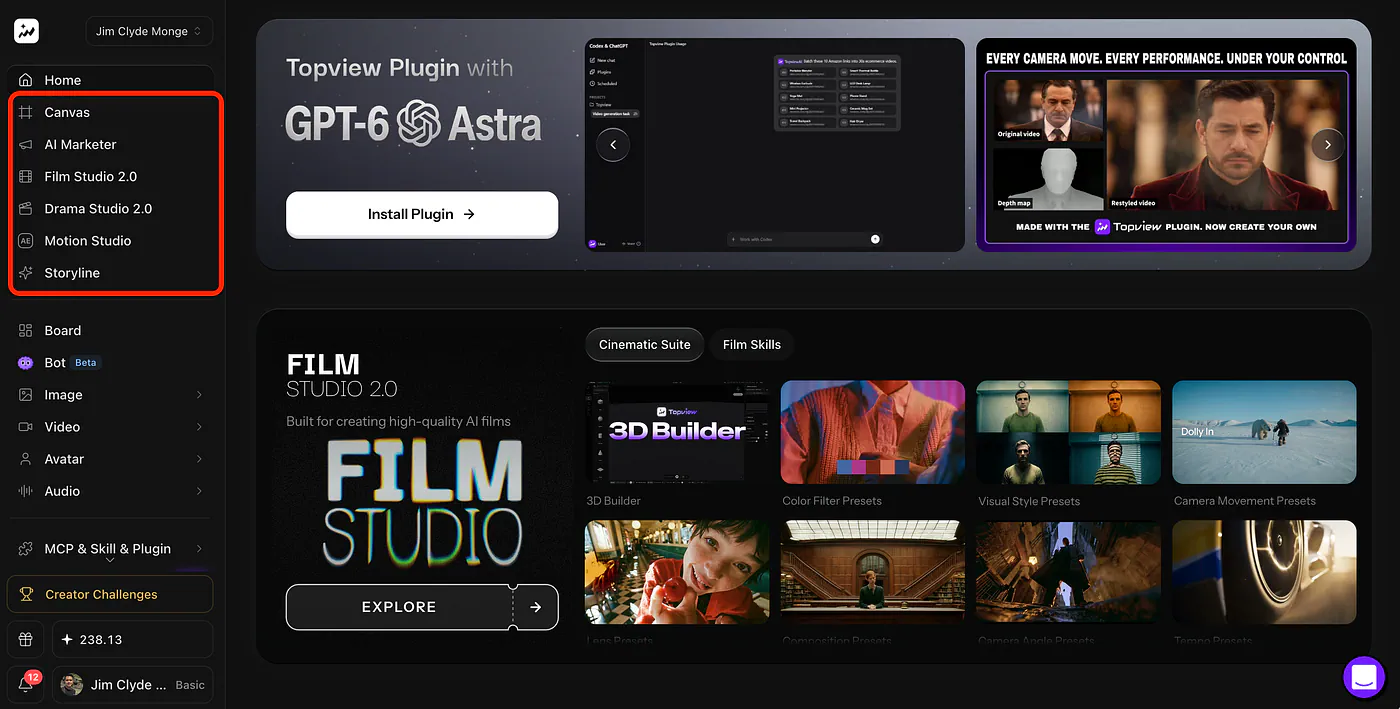
Topview also has Canvas, where you can organize the assets and continue working on the project. This becomes handy when you have several scenes, reference images, and different versions of the same shot.
Installing the plugin
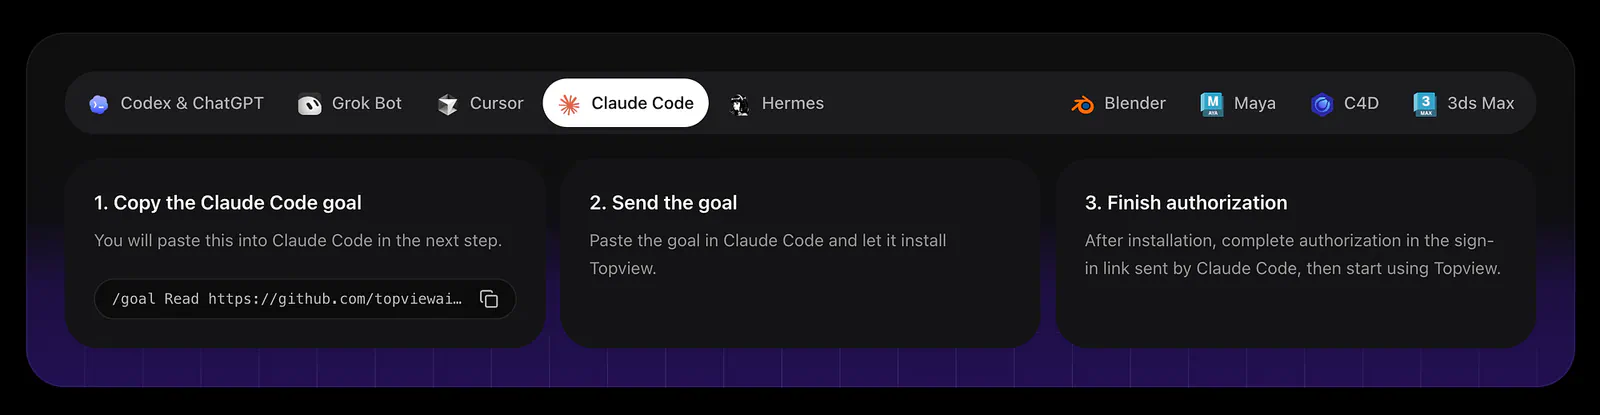
Head over to the official Topview plugin page and select the ChatGPT option.
Click Install plugin. This takes you to the plugin listing in ChatGPT, where you can add Topview to your account.
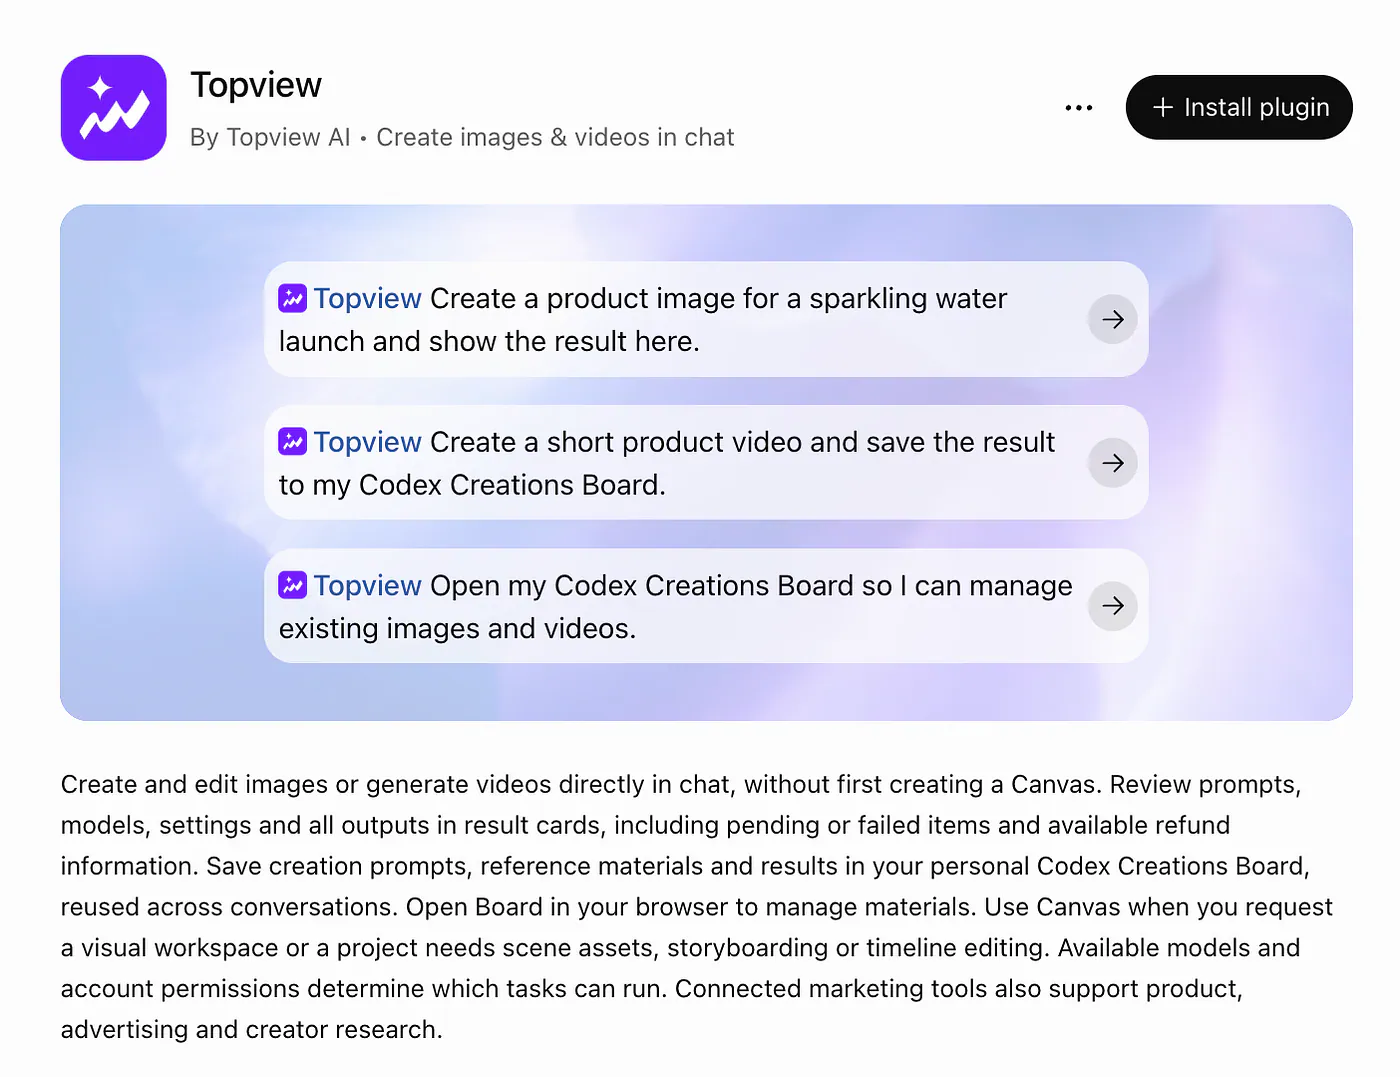
Next, sign in to Topview through the authorization page that opens. If you already have an account with credits, use that account.
After authorization, start a new chat, type @topview, and select it from the available options. That’s the setup process Topview documents for ChatGPT.
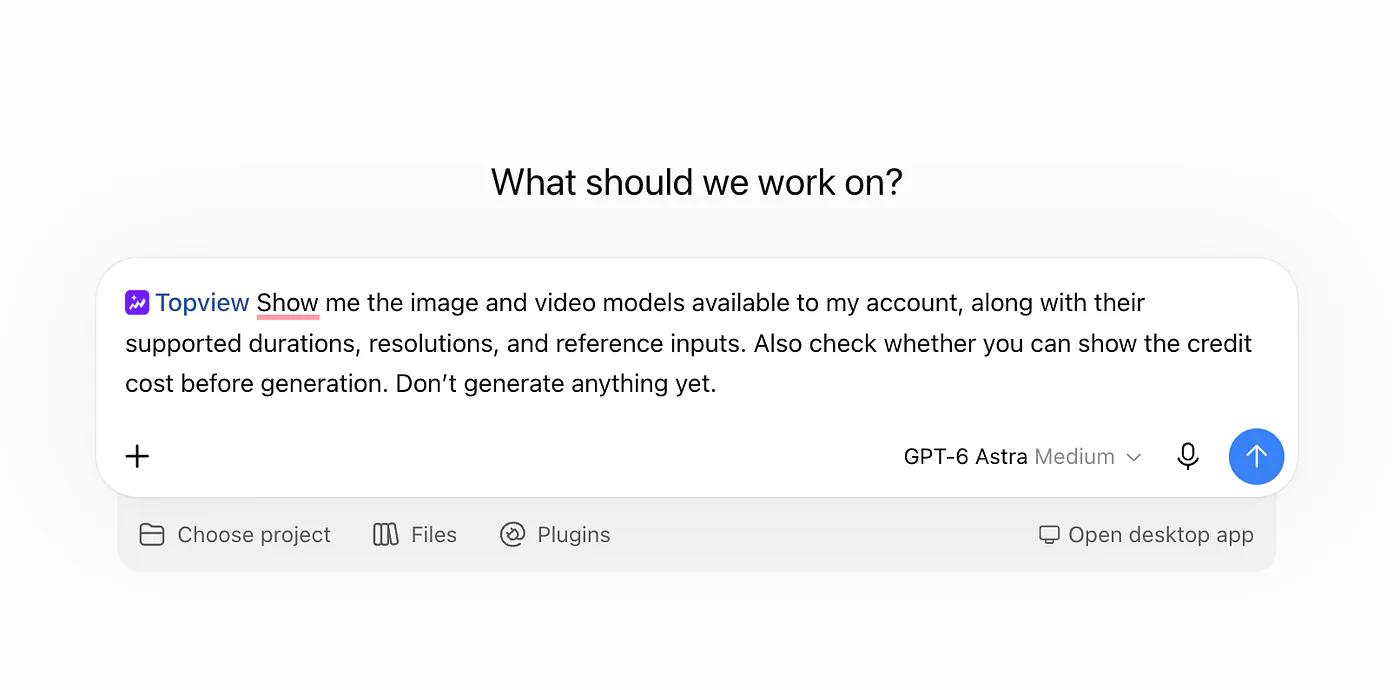
Notice that I set the model to GPT-6 Astra. This affects the output of whatever prompt you provide.
Before generating anything, you can ask ChatGPT to check what’s available through the connection:
@topview Show me the image and video models available to my account, along with their supported durations, resolutions, and reference inputs. Also check whether you can show the credit cost before generation. Don’t generate anything yet.
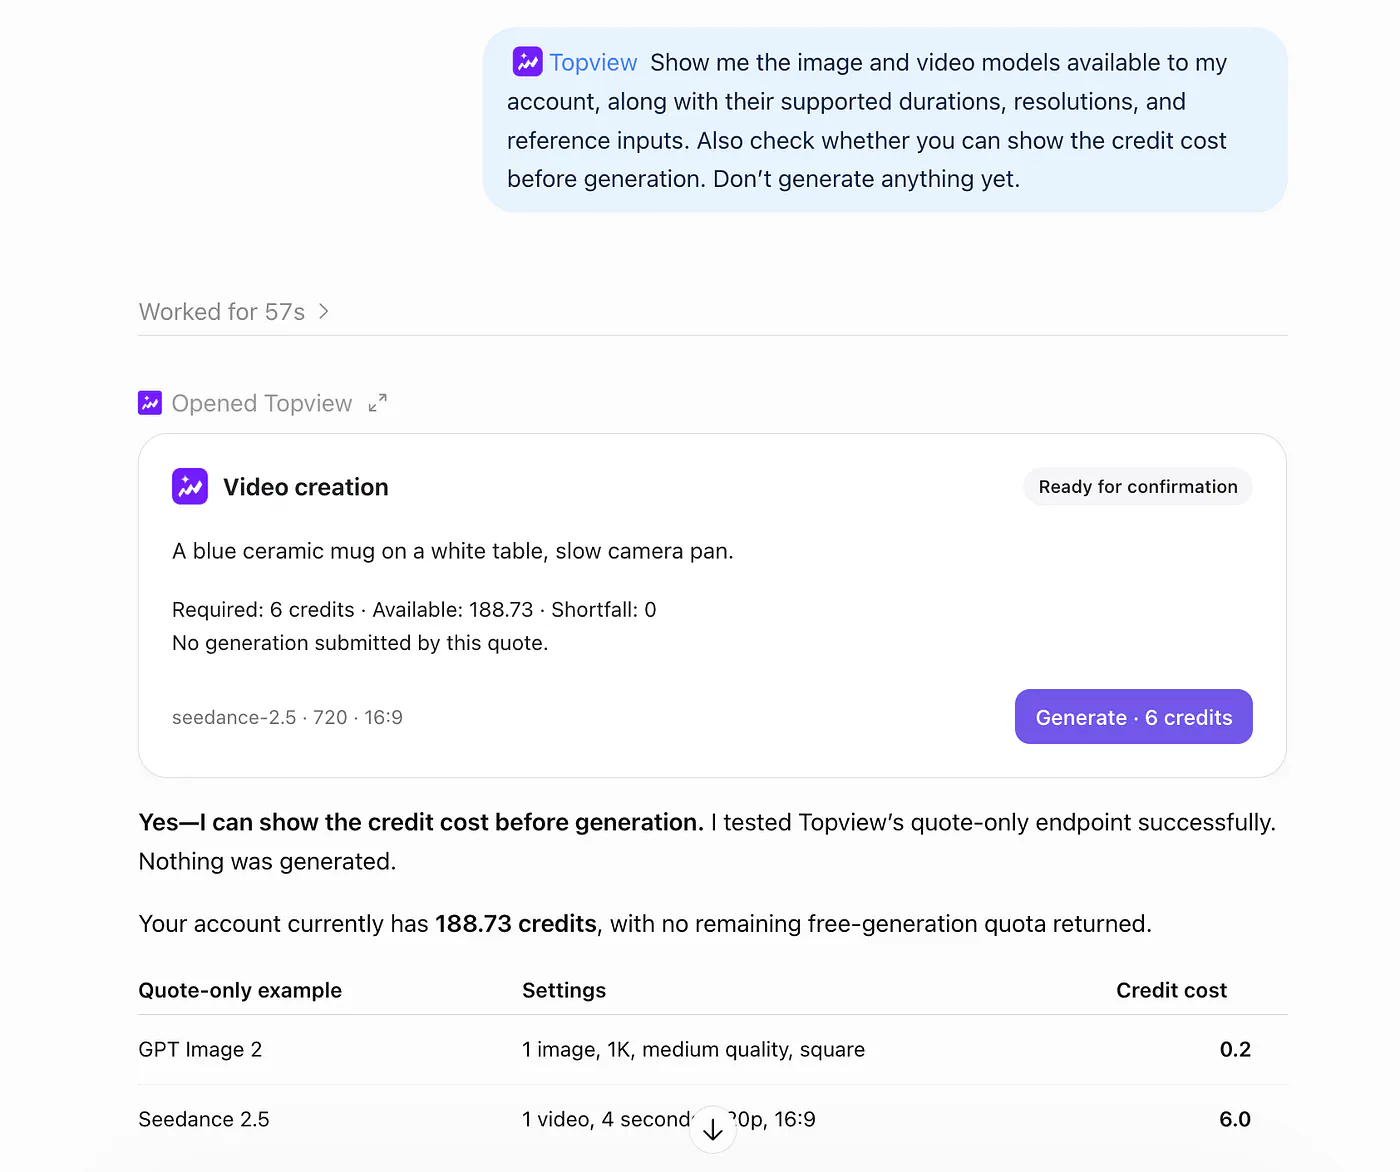
And just like that, I can easily monitor my Topview account, calculate credits, generate content, and do whatever I want inside the chat interface.
I’d do this before writing a detailed prompt around a particular model. You don’t want to plan a long scene and then discover that the selected tool only accepts a short clip or a different type of reference.
Also, constantly check your credits. Topview says its Unlimited allowance doesn’t cover automated workflows through MCP, plugins, or skills. An Unlimited offer on the website doesn’t automatically mean unlimited generations through ChatGPT.
For your first attempt, keep it small. Generate one clip and check the result before asking for several versions.
Generating AI videos with Astra in ChatGPT
In ChatGPT Work, open the model controls beneath the composer and select Astra. Make sure you are a paid user because Astra is only accessible to paying users.
You can also adjust the reasoning effort. I’d leave it at the default for a simple video request. Higher effort takes more time and tokens, and a straightforward product shot probably doesn’t need extensive planning. OpenAI explains the controls in its model guide.
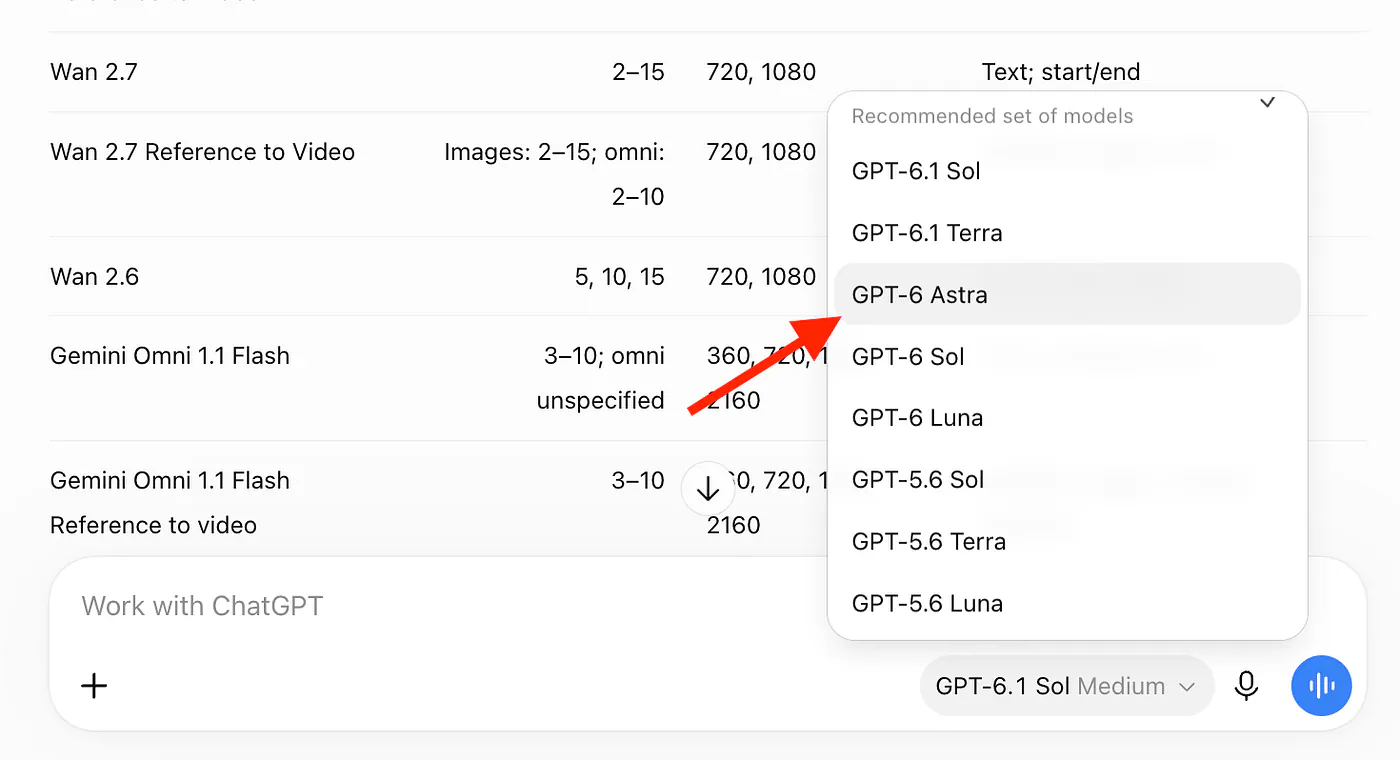
Now select @topview and attach any images or documents you want to use.
Give ChatGPT enough information to work with. “Make an awesome video” leaves almost everything up to the model. Tell it what the video should show, how long it should be, where you’ll publish it, and which details you want to keep.
You can still write the request in normal language. You don’t have to know every camera term or prepare a professional production brief.
For the examples below, I’ve included a planning step before generation. This lets you review the shots and cost first. The prompts are ready to try; the requested durations may need to be split into shorter clips depending on the model and tool available.
Example 1. Create a product ad from a photo
Let’s start with a desk lamp.
It’s a simple product, but there’s enough you can do with it visually. You can show a dark workspace, turn on the lamp, and end with a close-up of the product. That gives the video an obvious sequence even before adding any narration.
Upload a clear photo of the lamp, then try this prompt:
@topview Create a 12-second 16:9 video ad using the desk lamp in the attached photo. The video is for people who work at home in the evening. Start with a dim desk with a laptop and an open notebook, then show the lamp switching on and lighting the workspace. Finish with a close-up of the lamp, with the warm light falling across the notebook. Keep the product’s shape, color, proportions, and branding the same as the reference. Use realistic lighting and slow camera movement, and leave text out of the generated footage. First, show me a short shot plan and the estimated credit cost. Use Seedance 2.5 if it’s available for this task, and create any reference images needed before animating the shots.
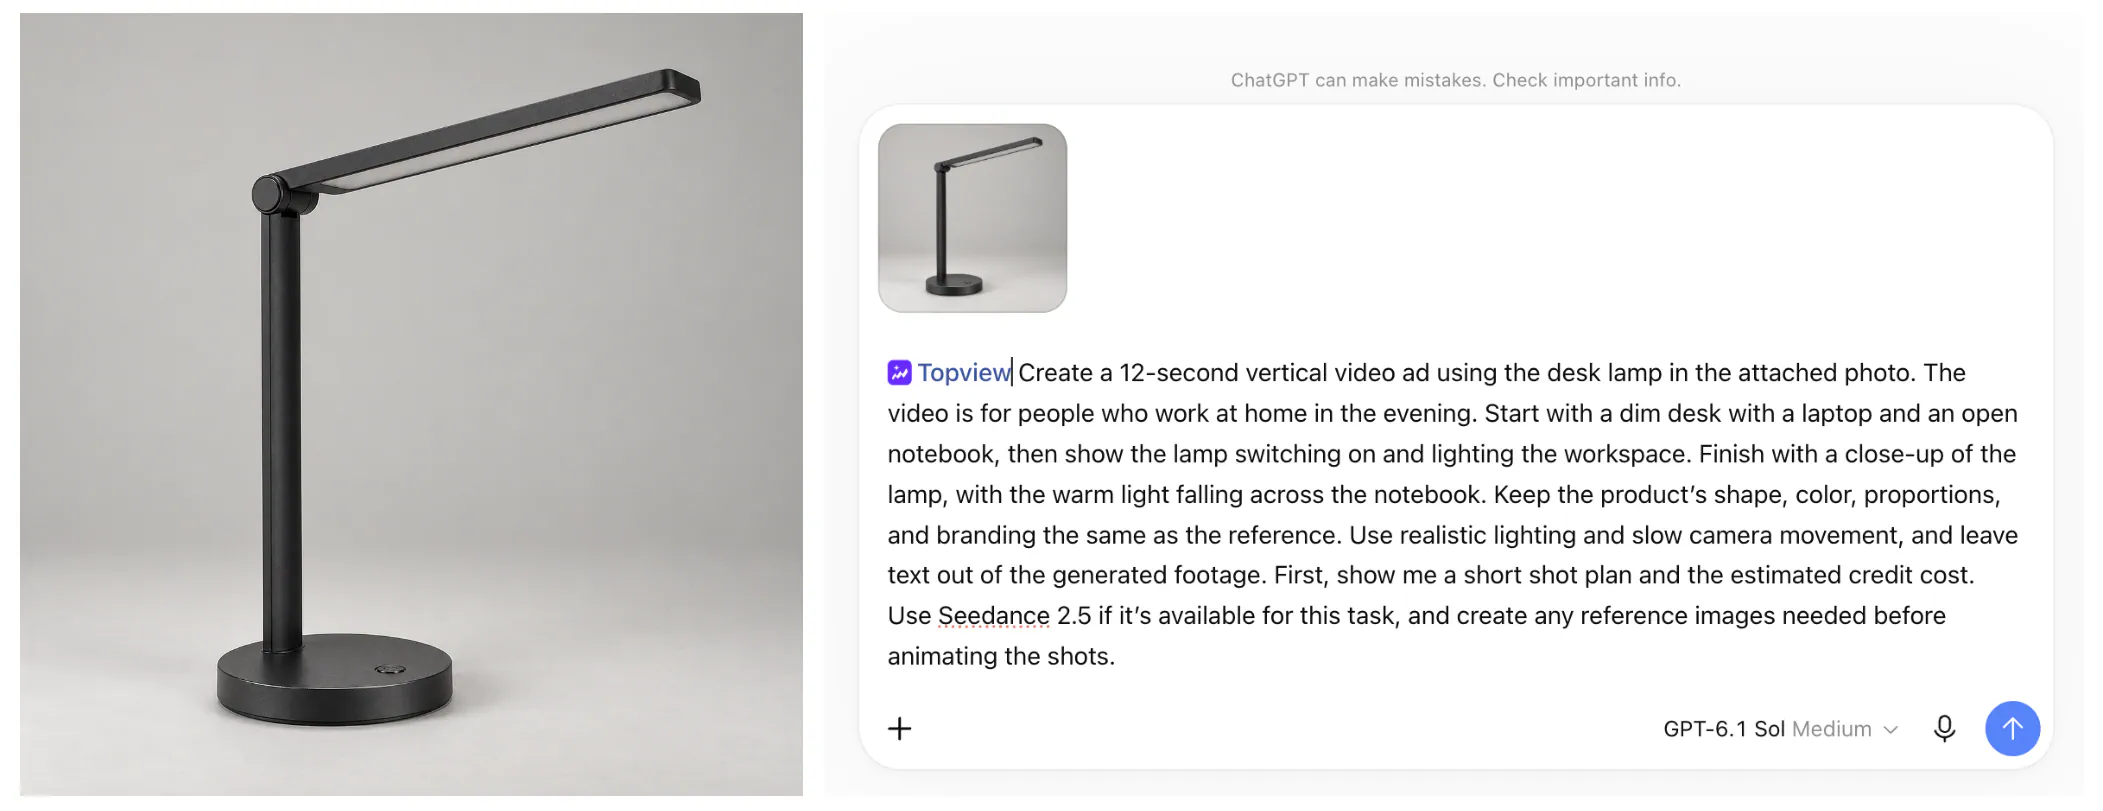
The product photo gives the model something to follow. If you only describe “a modern desk lamp,” it could generate a different lamp in every scene. That’s a problem when you’re trying to promote an actual product.
For this example, I’d pay attention to the lamp’s base and hinge. Those small parts can make it obvious when the design has changed between shots. The light should also come from the lamp itself; a sudden change to the whole room can make the transition look strange.
You can keep the first attempt quite basic. Leave the lamp on the desk and let the camera move toward it. Once that works, try adding a hand reaching for the switch.
There’s no need to force every action into the first generation. A product moving, a hand interacting with it, and a camera orbiting around the desk gives the model several things to get right at once.
After you get a clip you like, ask for a second version with a different opening. For example, show someone working in the dim room before cutting to the lamp. Keep the rest of the video similar so you can compare which opening feels stronger.
Once the generation is done, ChatGPT will let you know and give you a summary of the video generation workflow.
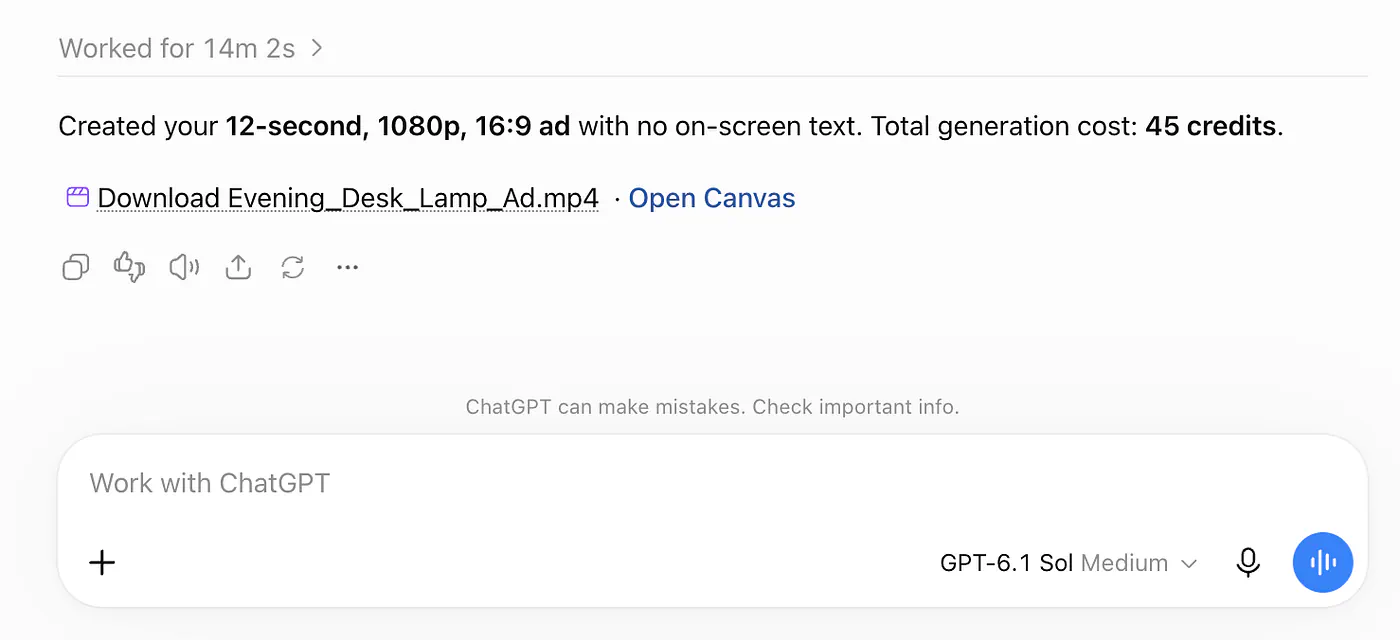
In this example, the generation took around 14 minutes to complete and consumed 45 credits. It also gives you a link to the project. Here’s what the project looks like in the Topview Canvas dashboard:
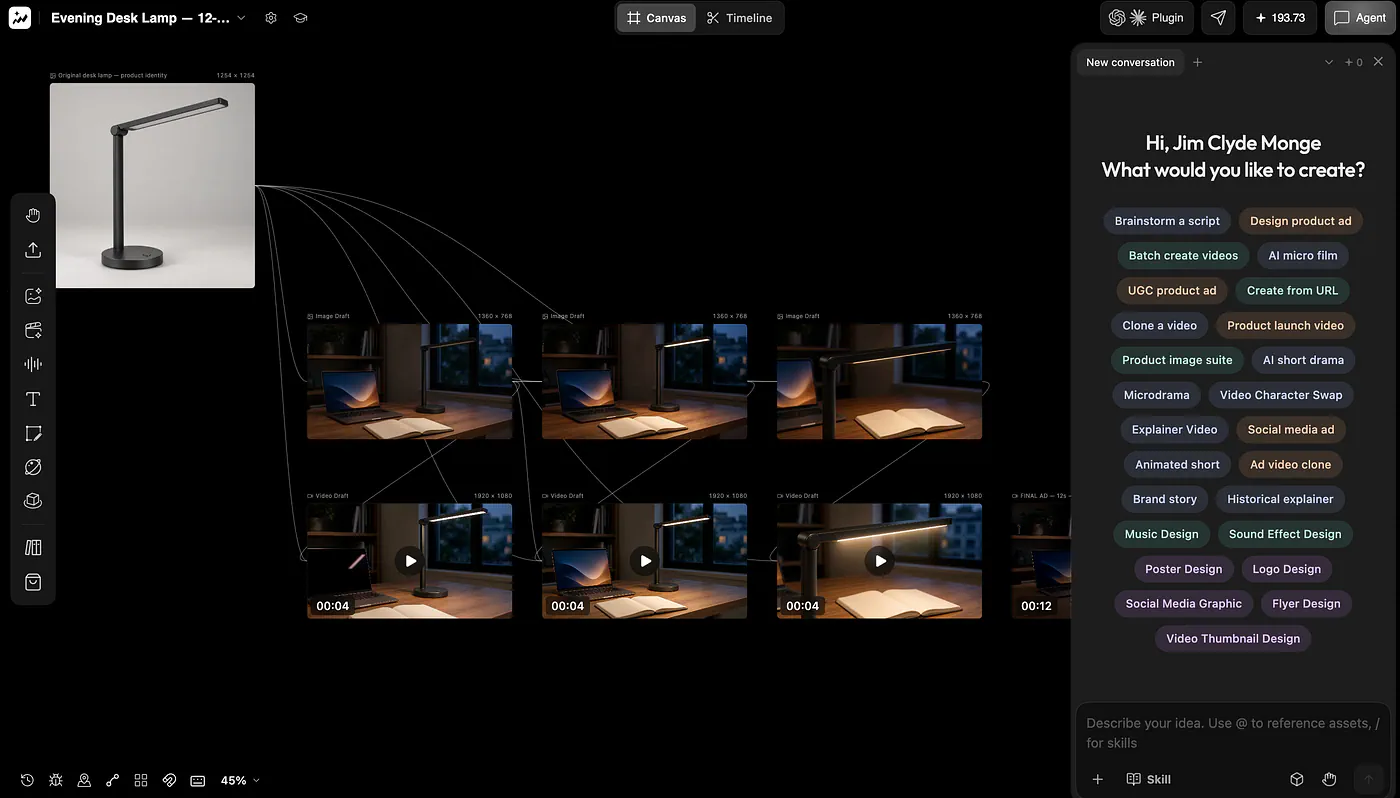
Here’s the final output:
Loading this video connects to Vimeo, which receives device and connection data and may use cookies or similar storage.
You could use the same approach for a pair of headphones, a bag, a skincare bottle, or a kitchen accessory. Change the action to match the product. A bag could be packed for a trip; headphones could be placed on a desk beside a phone.
Another thing I like about Topview is that it’s not limited to generation. It has a built in editor that you can use to edit your videos. For example, instead of using another tool to trim or upscale a clip, you can do it right inside the Topview Canvas board.
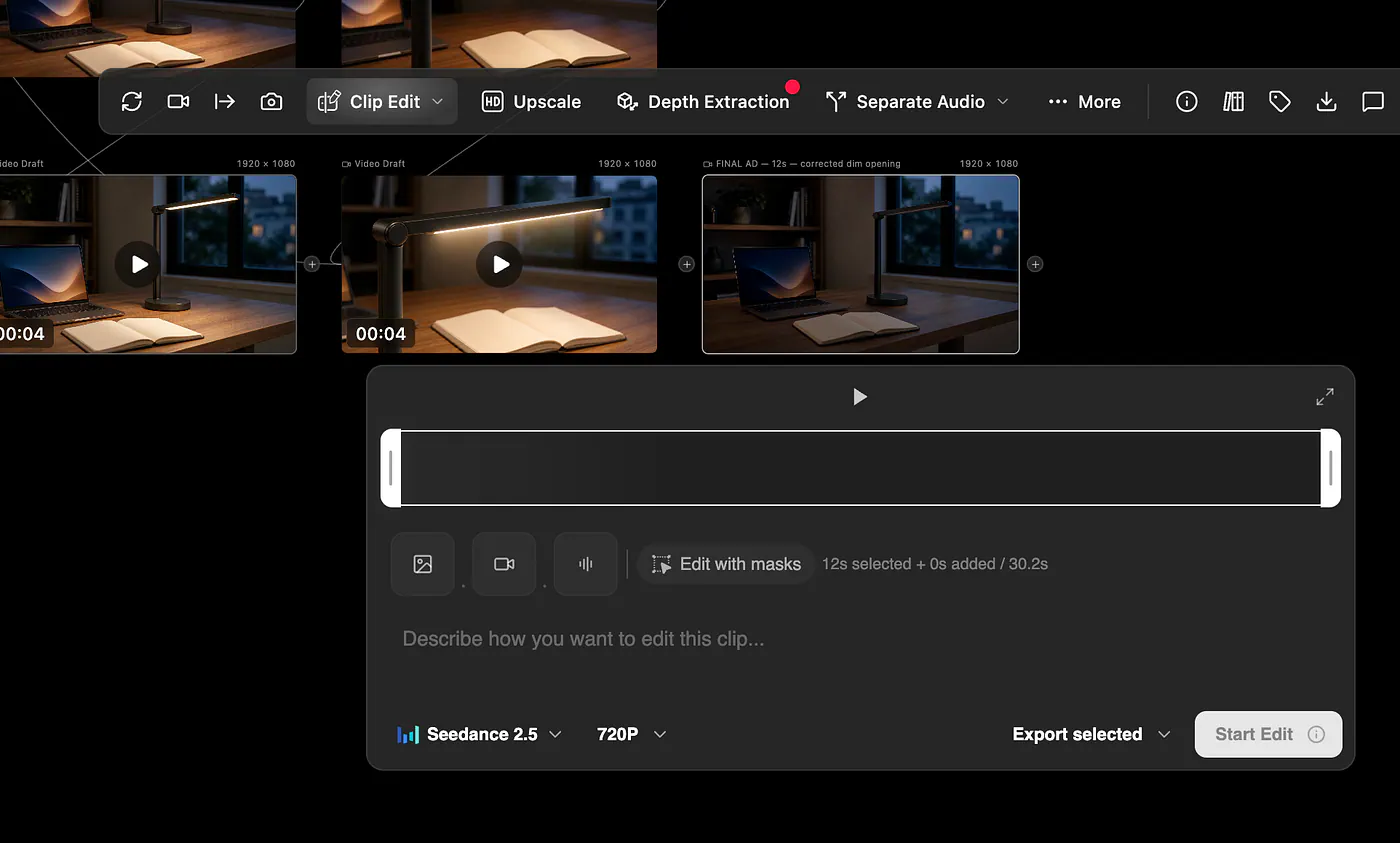
Pretty cool, right? I recommend exploring these editing tools yourself.
Example 2. Make a short sci-fi scene
For the second demo, let’s try something more creative.
Picture a courier entering an abandoned train station at night. They’re carrying a silver case that starts glowing, and the station lights turn on as they walk past.
I like this setup because you can tell the story through movement and lighting. You don’t need a long explanation or dialogue for the viewer to understand that something unusual is happening.
Here’s the prompt:
@topview Create a plan for a sci-fi video in 16:9. A lone adult courier wearing a weathered dark-green jacket enters an abandoned train station at night, carrying a small silver case. Start with a wide shot showing the empty station and wet floor, then follow the courier as they walk toward an old departure board. In the final shot, the case begins glowing, and the station lights turn on one after another. Keep the character’s face, clothing, case, and station design consistent. Use an available Nano Banana image model to prepare the character and scene references, then choose a compatible video model for the animation. Show me the storyboard and estimated cost before generating. Split the sequence into supported clip lengths and include rain and station ambience if the selected tools support audio.
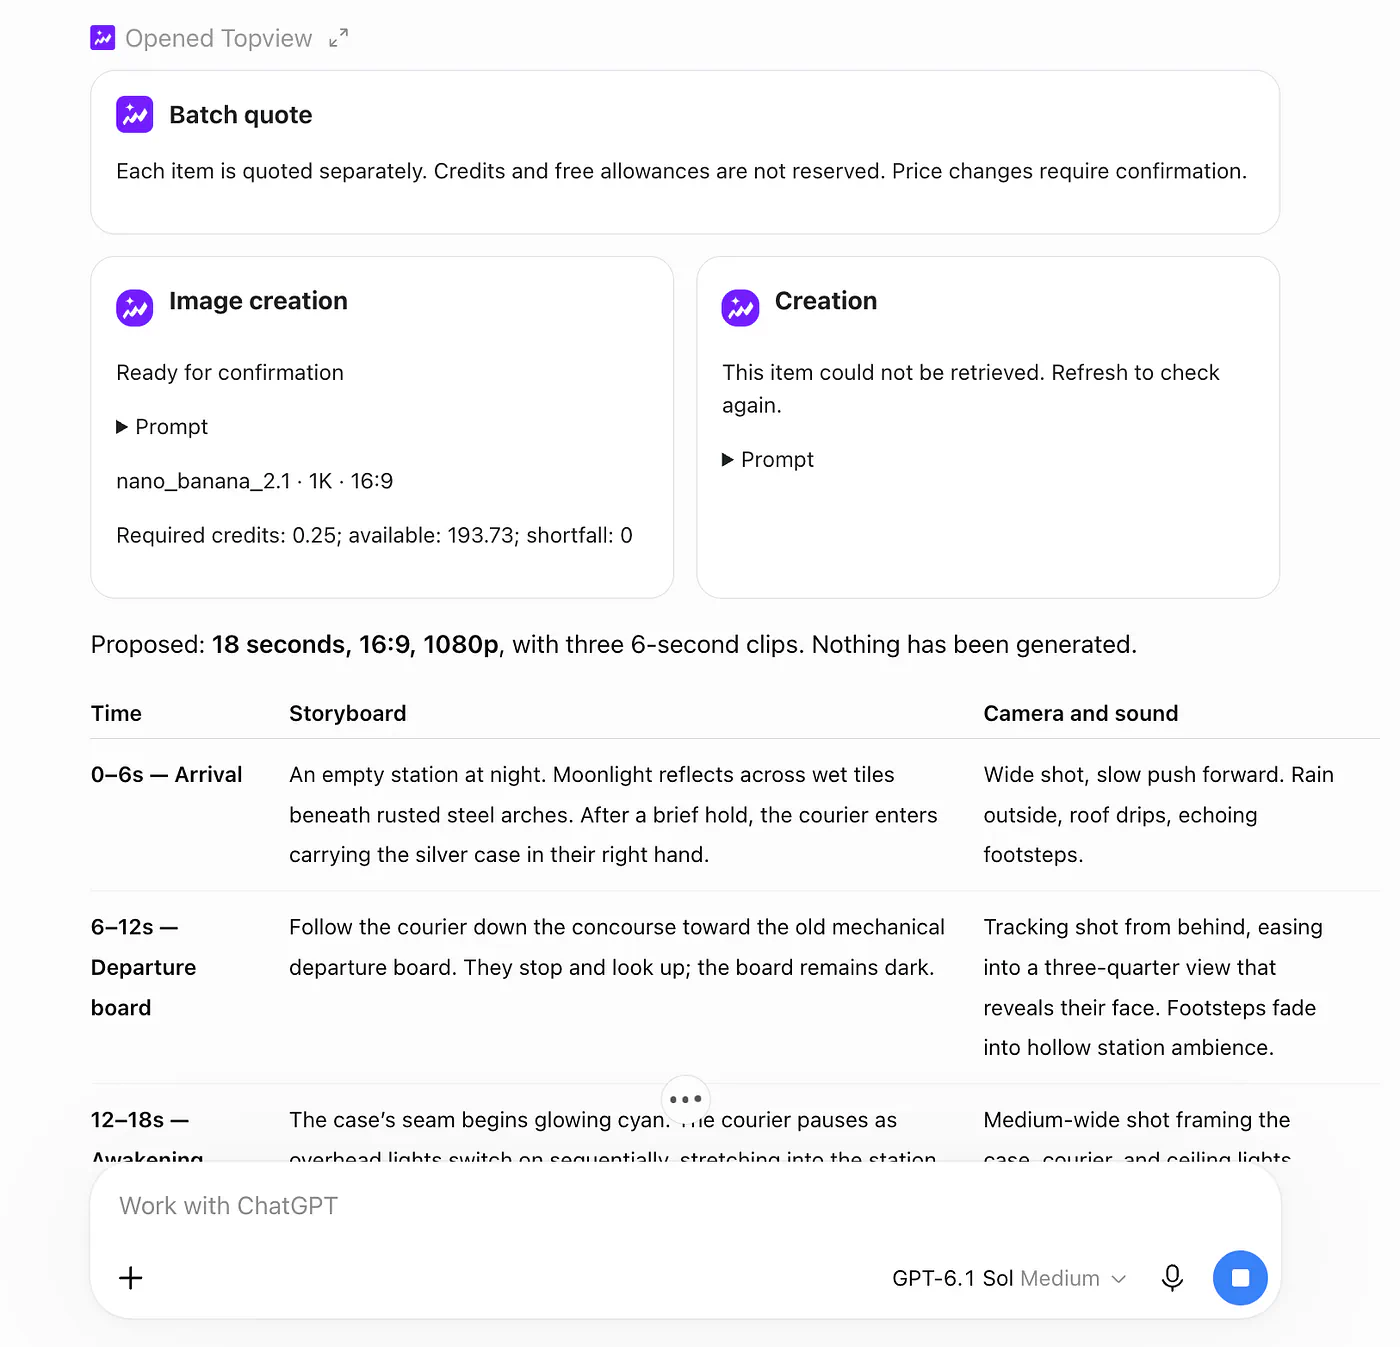
Here’s a snippet of the plan:
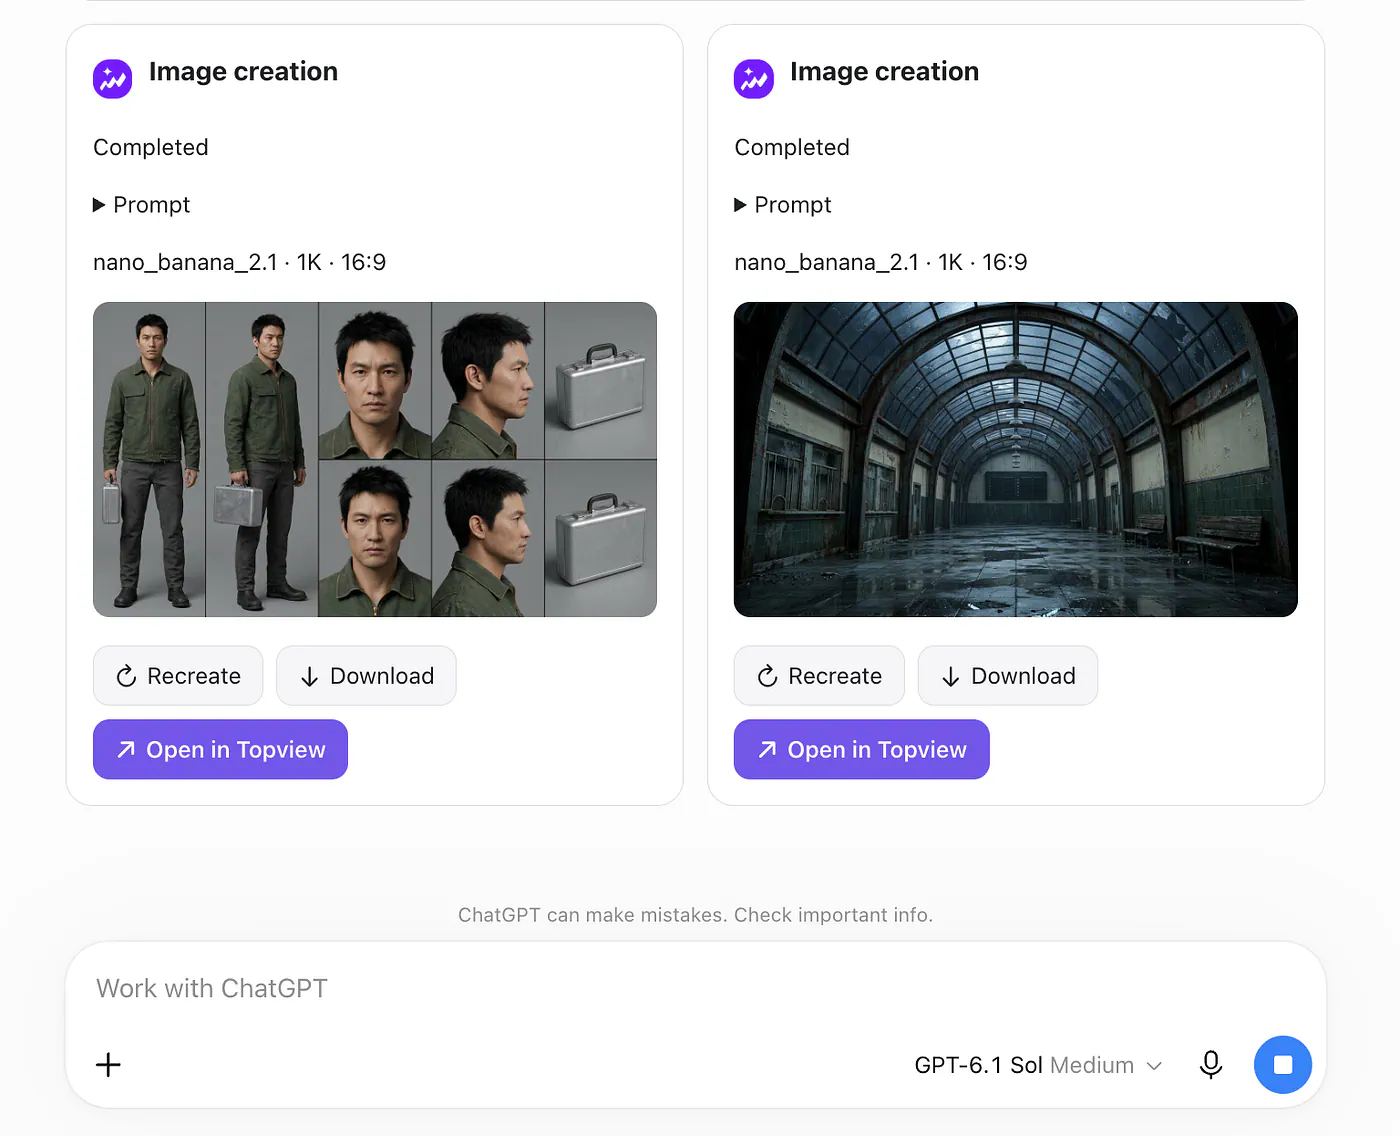
Use Nano Banana 2.1, available in Topview, to prepare five 16:9 images at 1K:
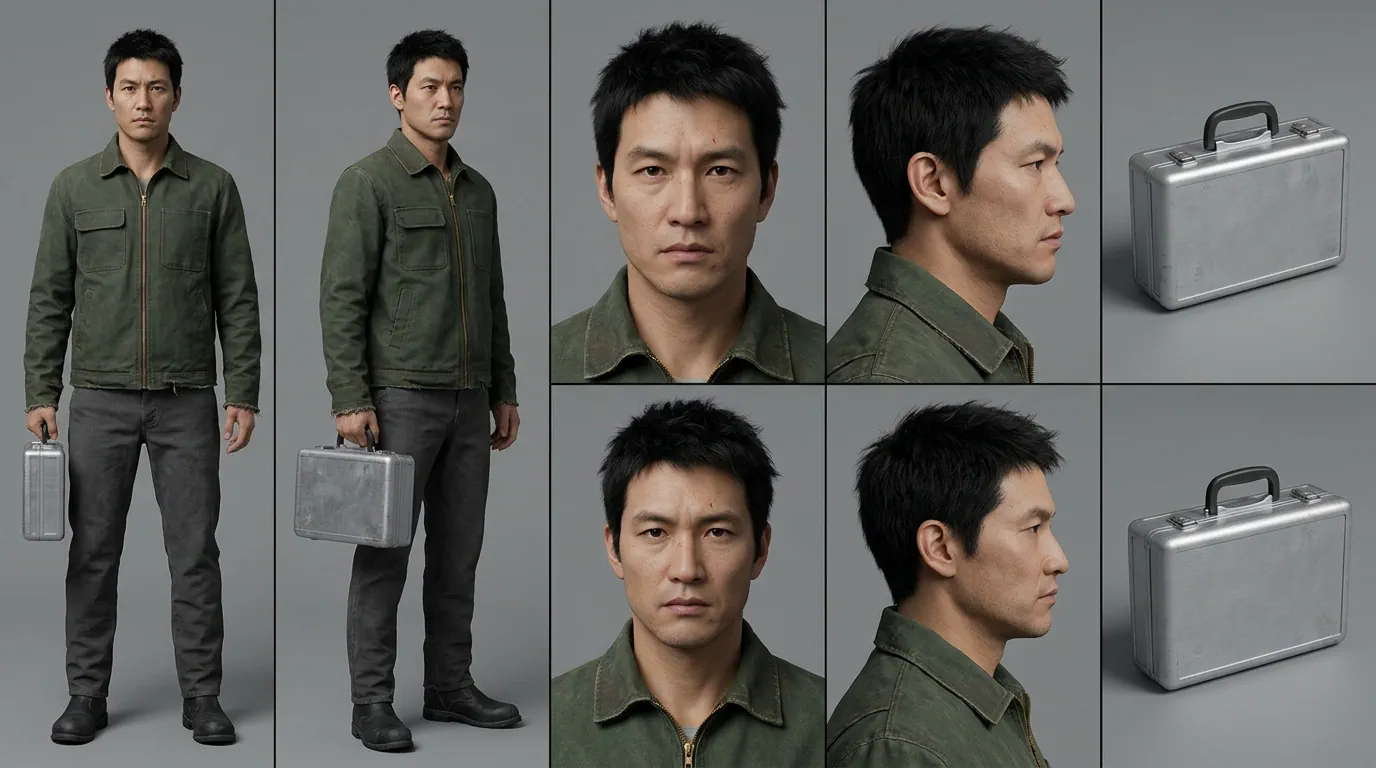
- One character-and-case reference sheet: adult courier, short black hair, weathered dark-green jacket, charcoal trousers, black boots; small brushed-silver case with two latches and a black handle.
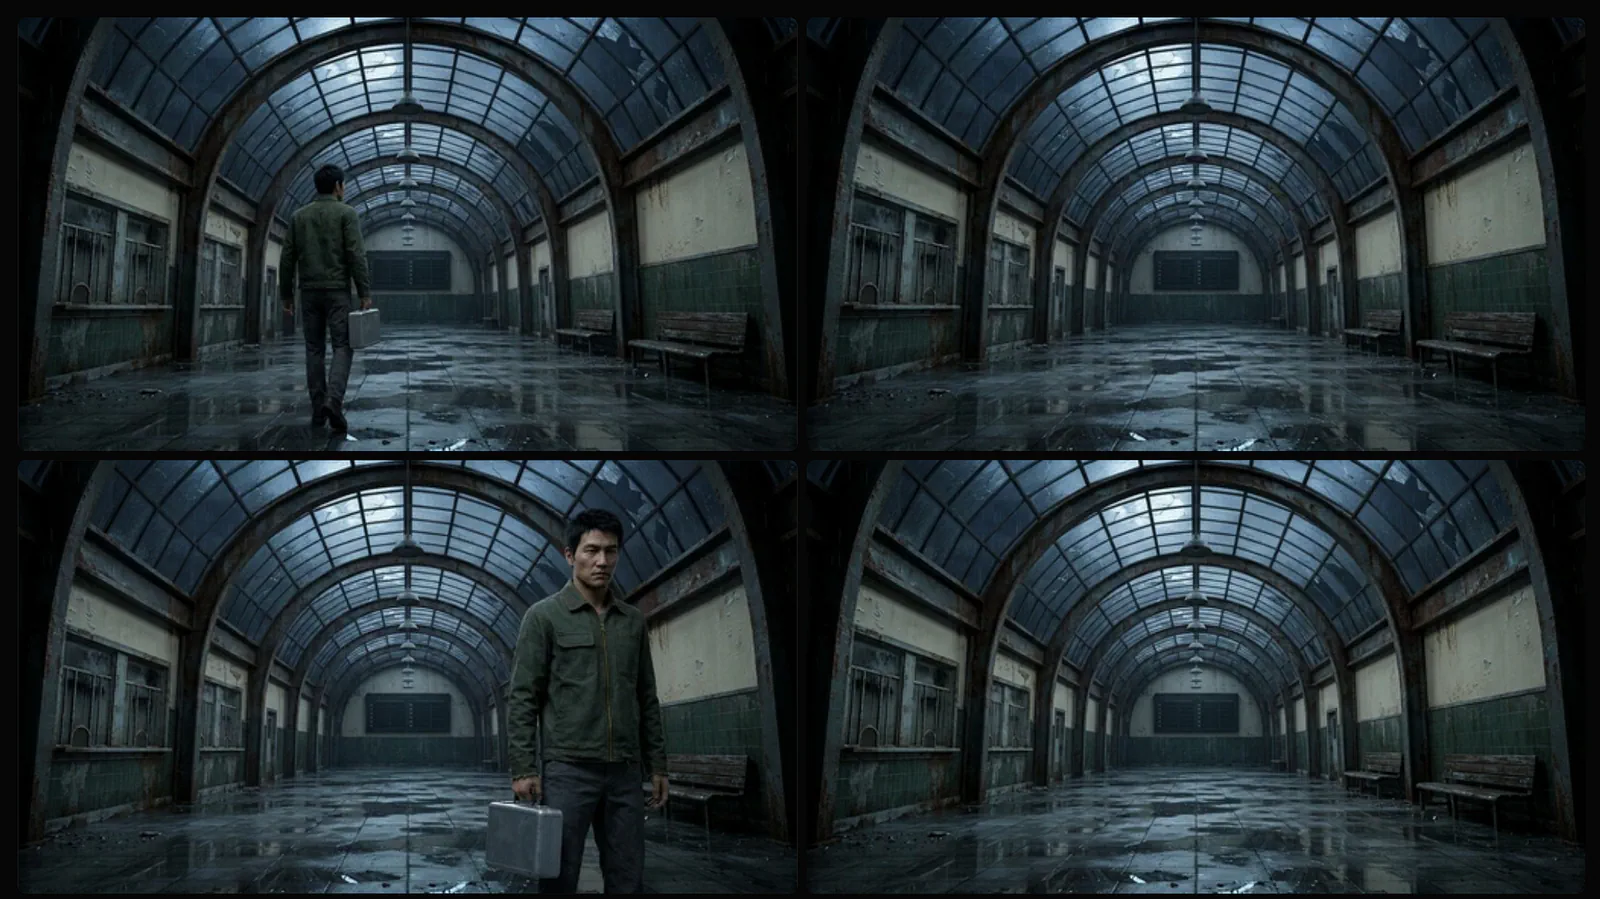
- One station reference: rusted arches, cracked glass roof, wet tiled concourse, central departure board.
- Three shot-specific starting frames, derived from those same references.
Reuse the approved face, jacket details, case proportions, station layout, and screen direction in every frame. The case stays closed and in the courier’s right hand throughout.

Animation model: Seedance 2.5, using each prepared starting frame. Its current configuration supports 6-second clips, 1080p, and native audio.
Rain, footsteps, station echoes, and the final electrical sounds will be requested; no dialogue or music.
You see? This is the beauty of using ChatGPT because it’s got super powerful model to help you plan out the workflow.
This also gives Astra a few decisions to work through. It has to establish the location, introduce the courier, and time the reveal at the end. The references also need to agree with each other before they become separate video clips.
Topview currently has a Nano Banana 2.1 model page covering image generation and editing. For this demo, ask the plugin which Nano Banana options it can actually use through your connection.
Take your time on the character image. Check the jacket, face, hairstyle, and size of the case. If you already dislike the design, fix it before generating three clips around it.
I approved the plan and these are the images I got:
Here’s the character image in full resolution: